View the spoiler for my guess at what I think it might be, but please first come to your own conclusion before looking at mine — I don’t want to bias your guess.
My guess
Psilocybe cyanescens
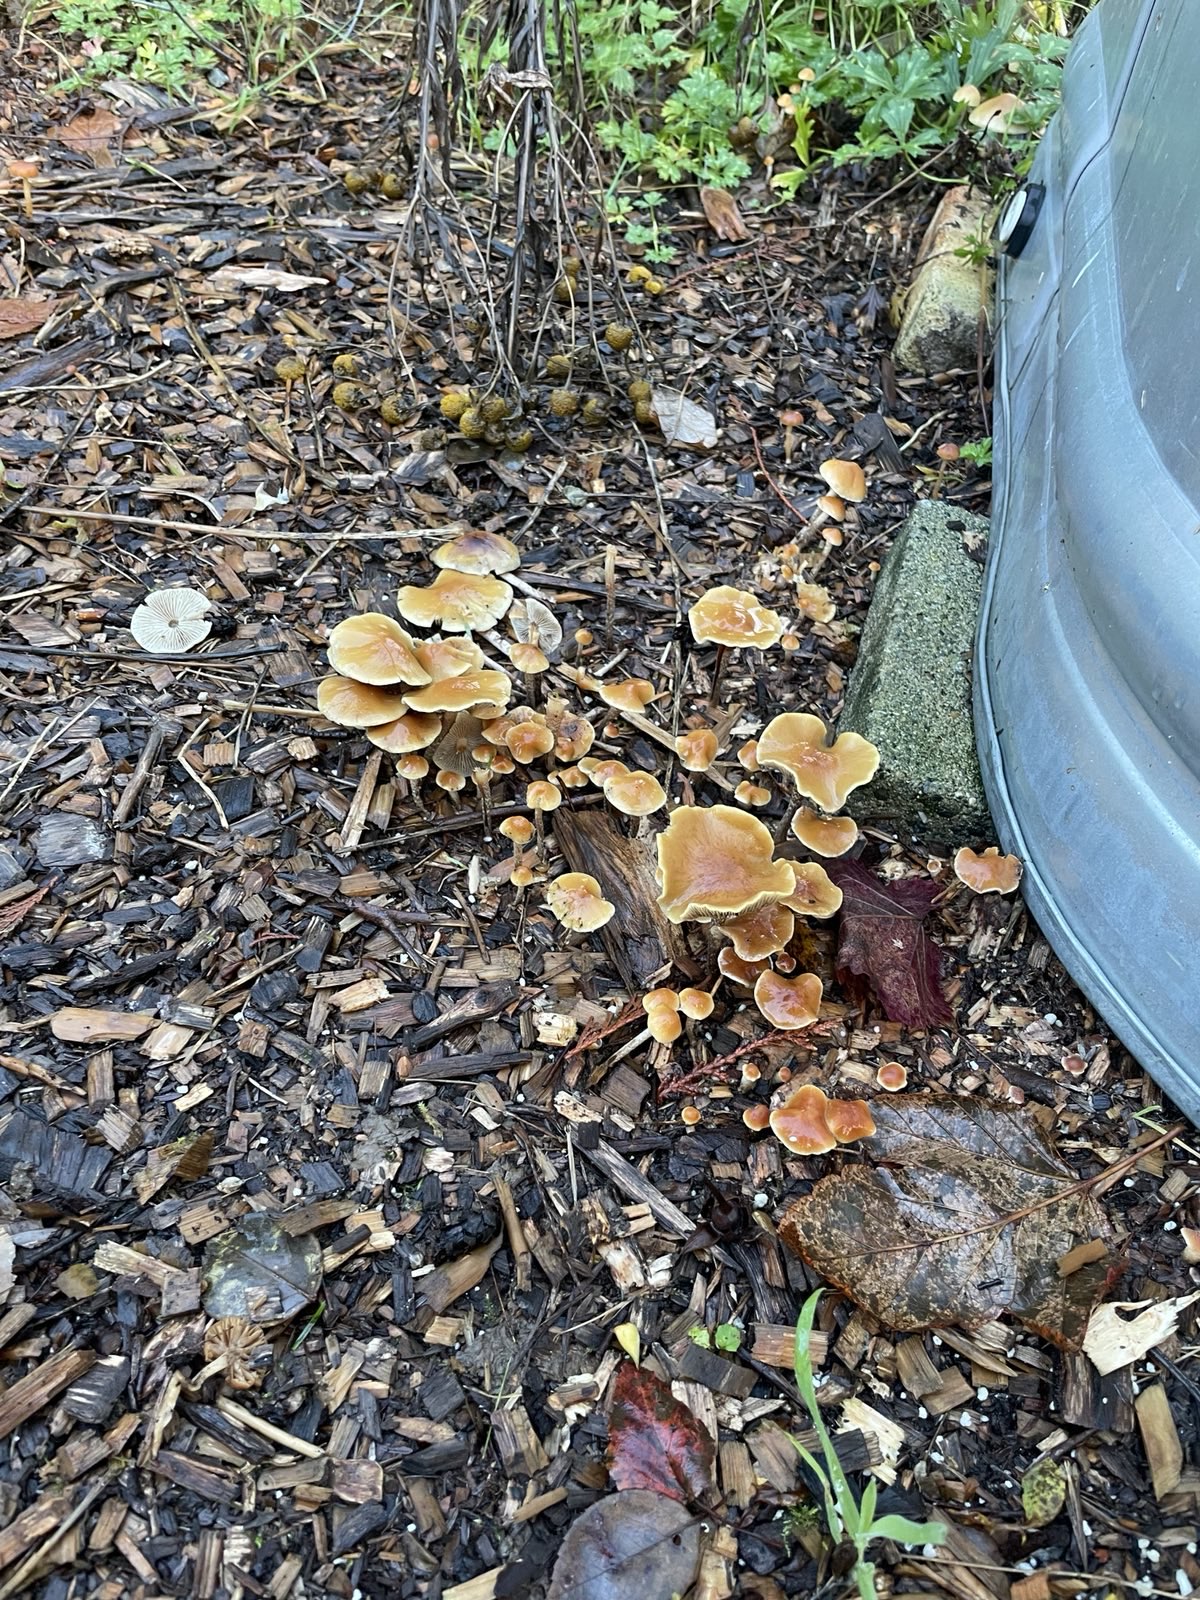
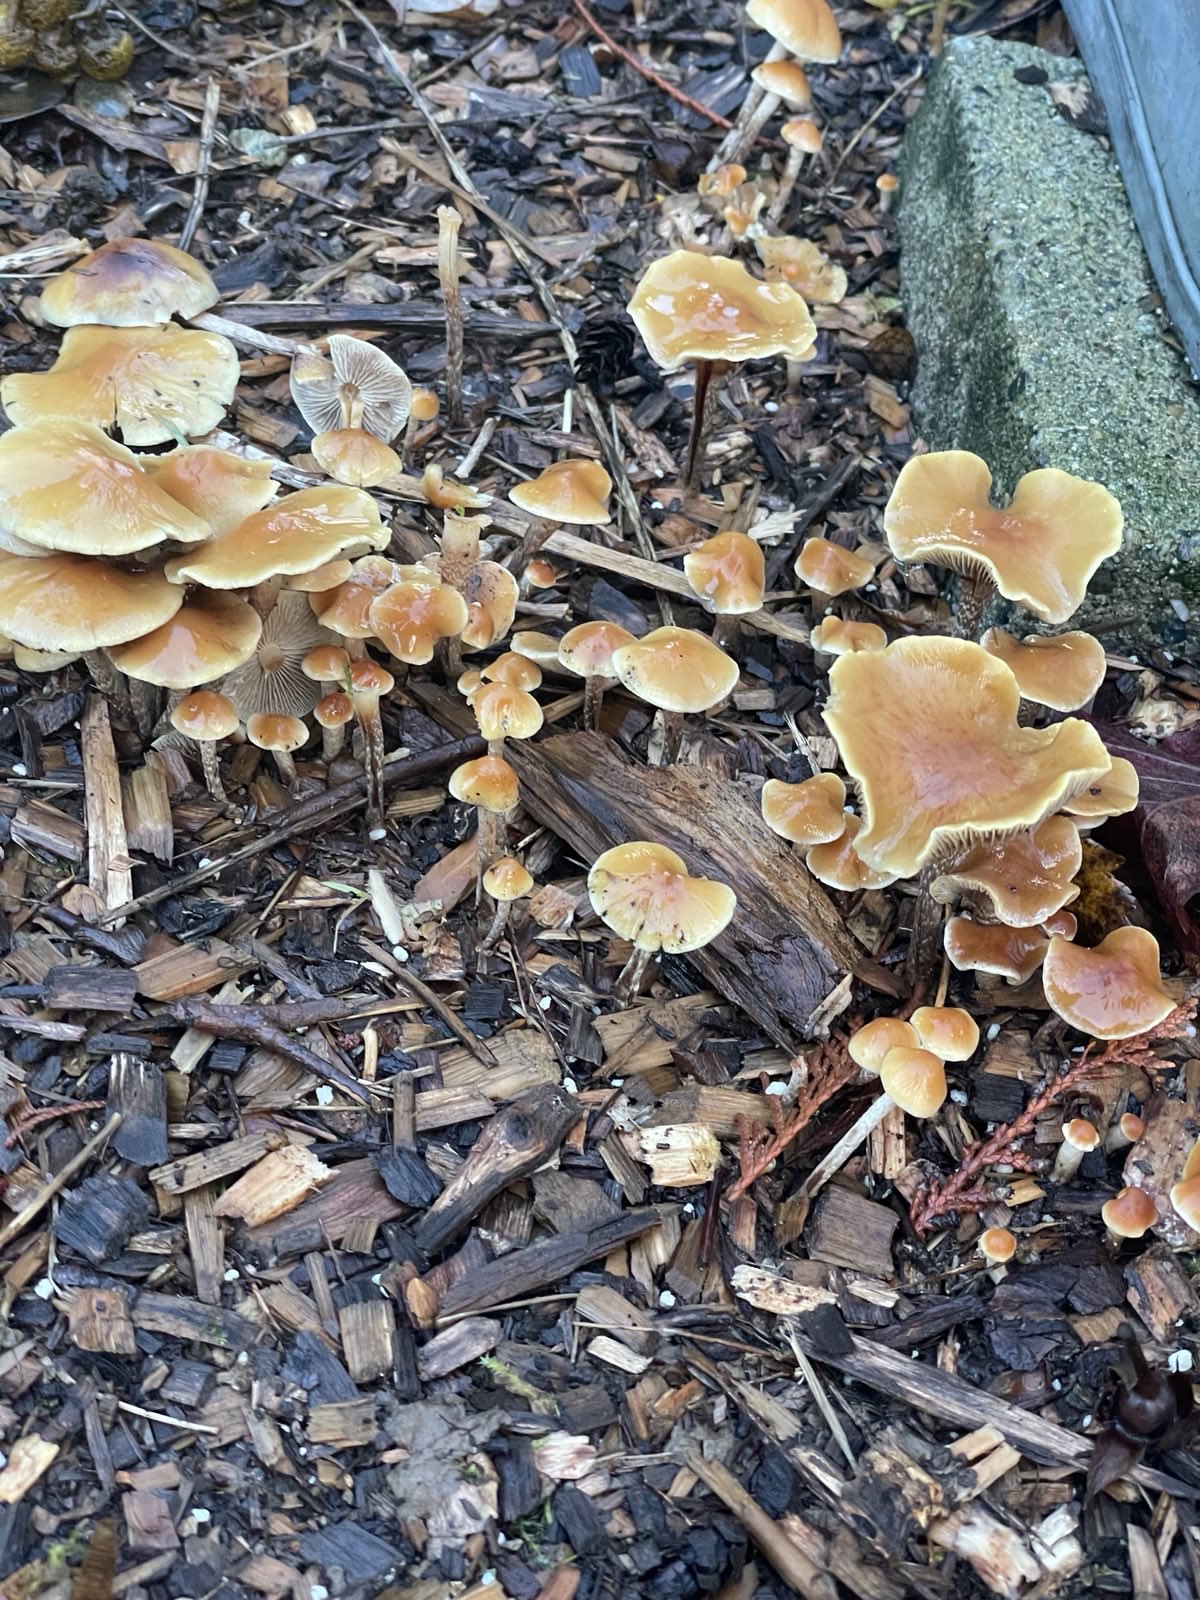
They were found in mid-november in the Salish Coast region of Cascadia. They were growing out of woodchips composed of a mixture of western hemlock (majority), and western red cedar.
Side view of one full mature specimen:
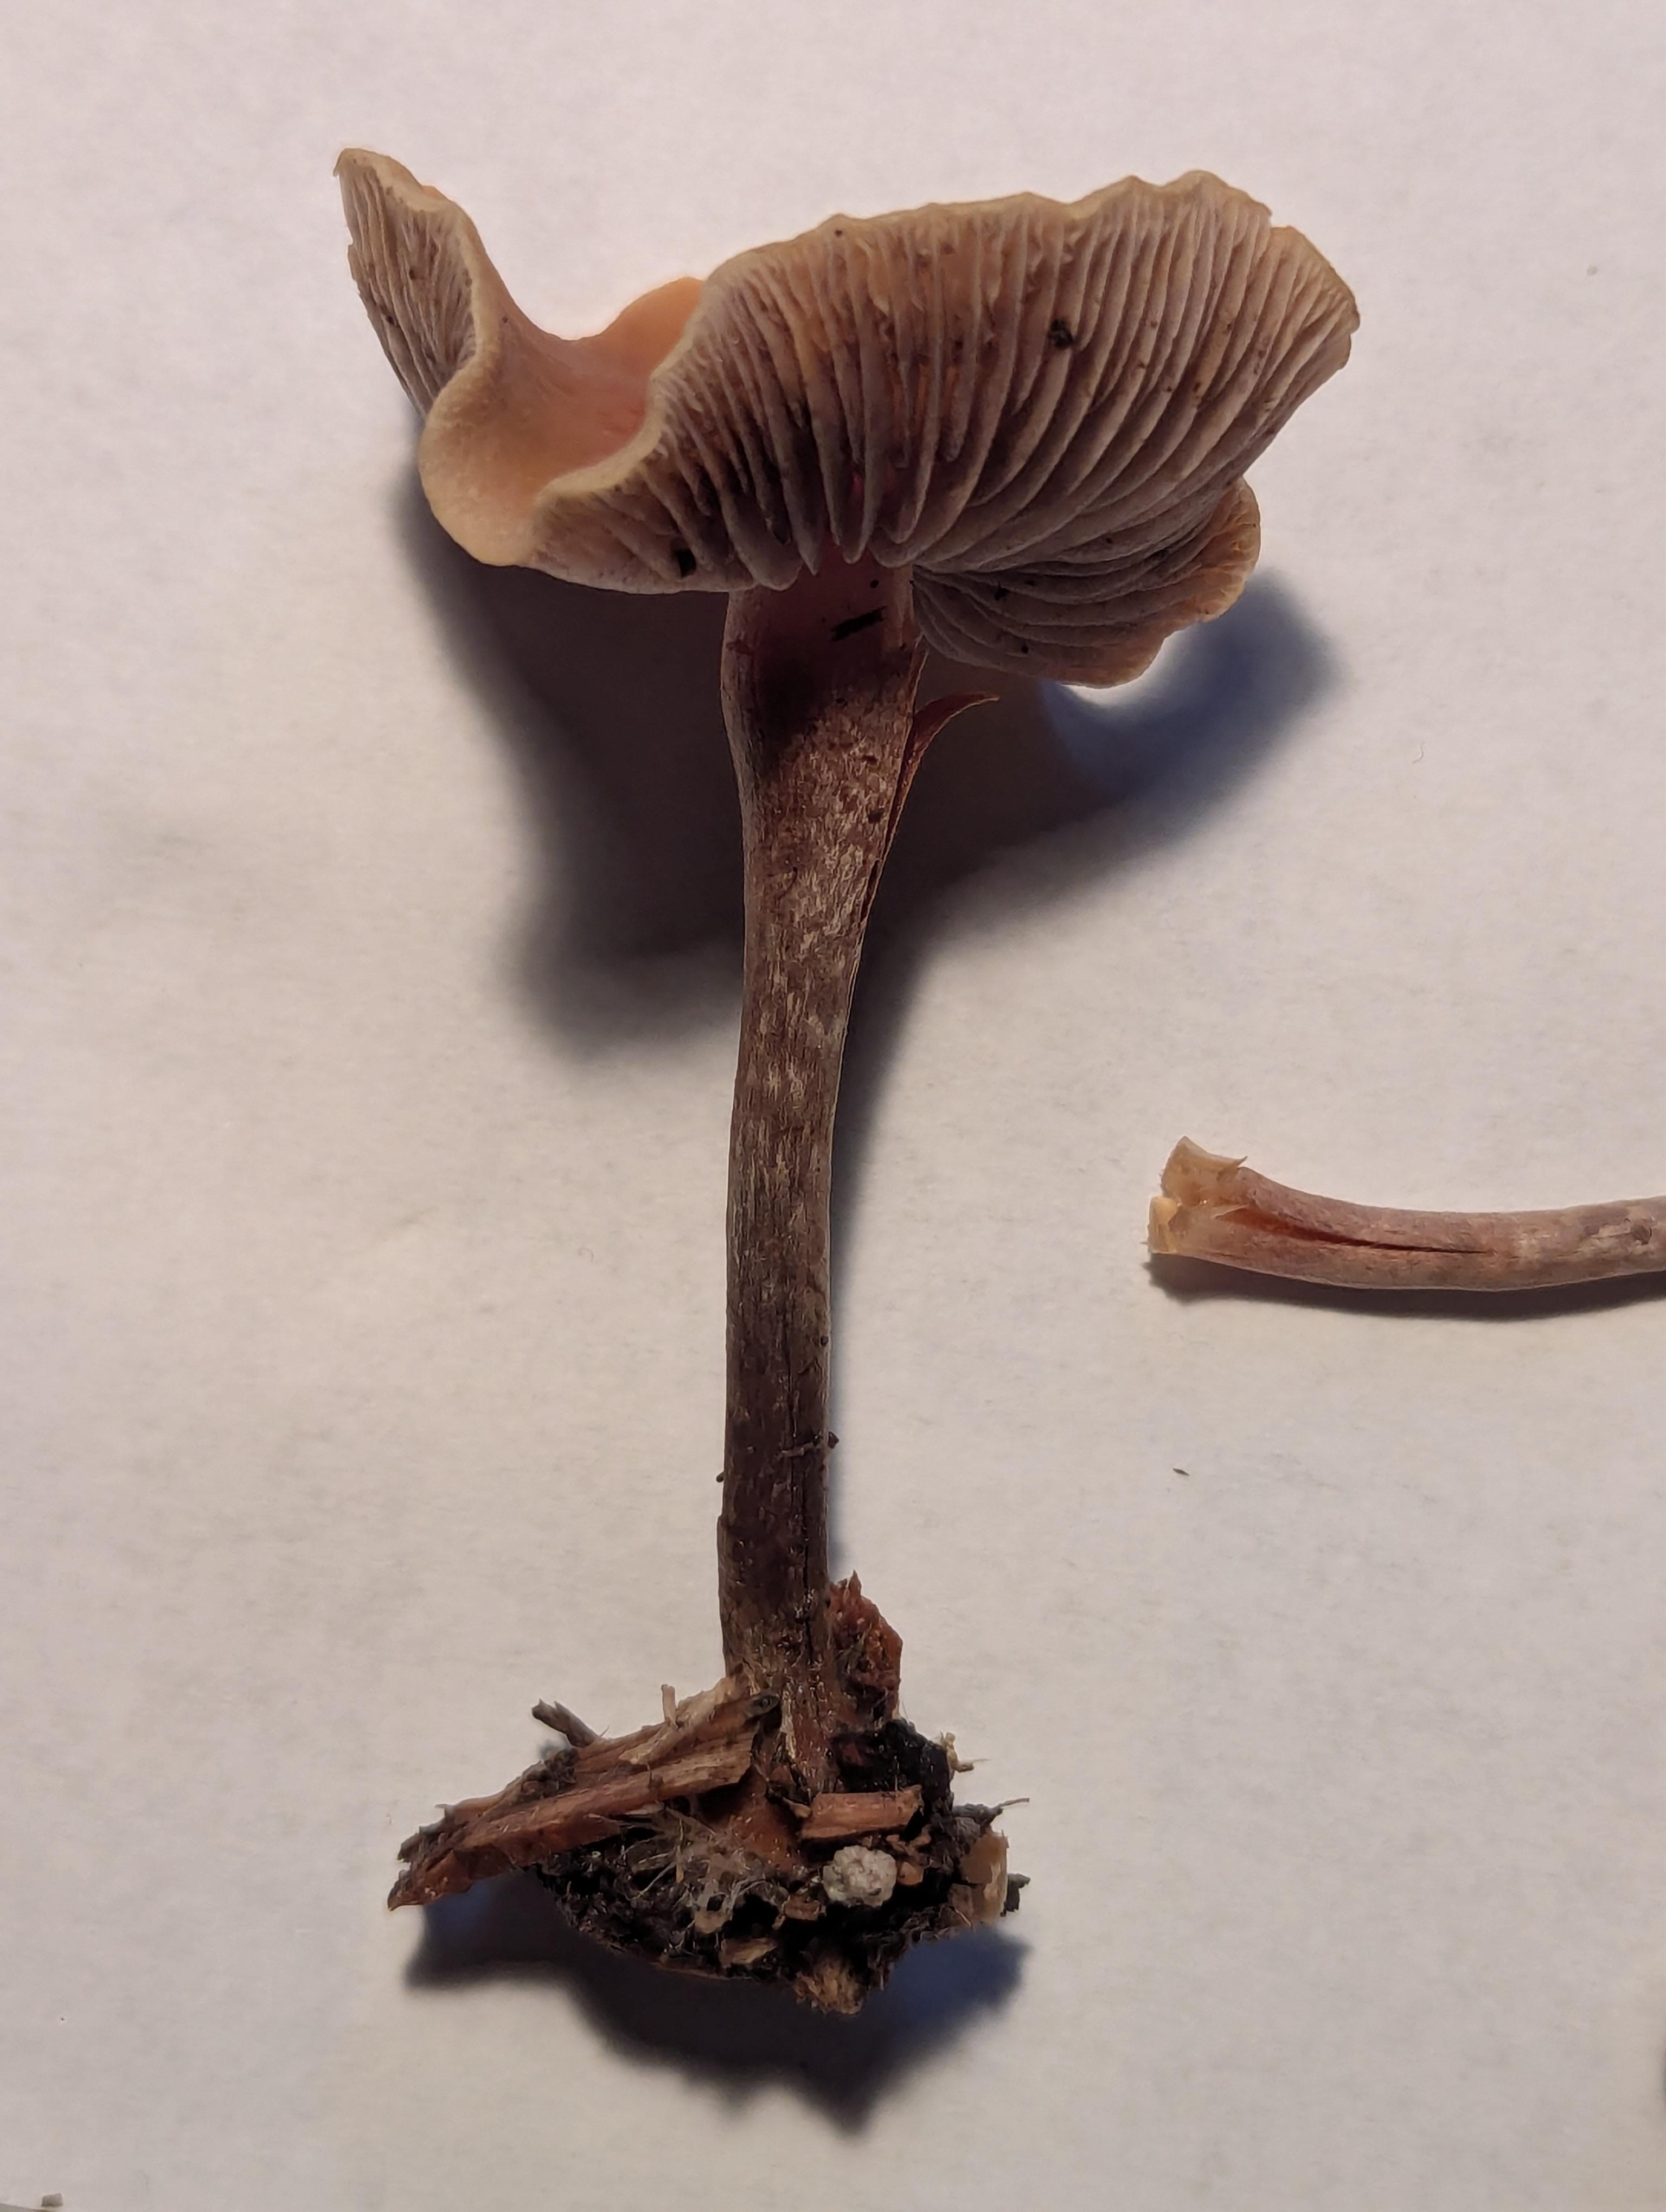
A group with a sample of the substrate (the cap appears to be umbonate):

A closeup side view, and internal view of the stem (it appears to be hollow):
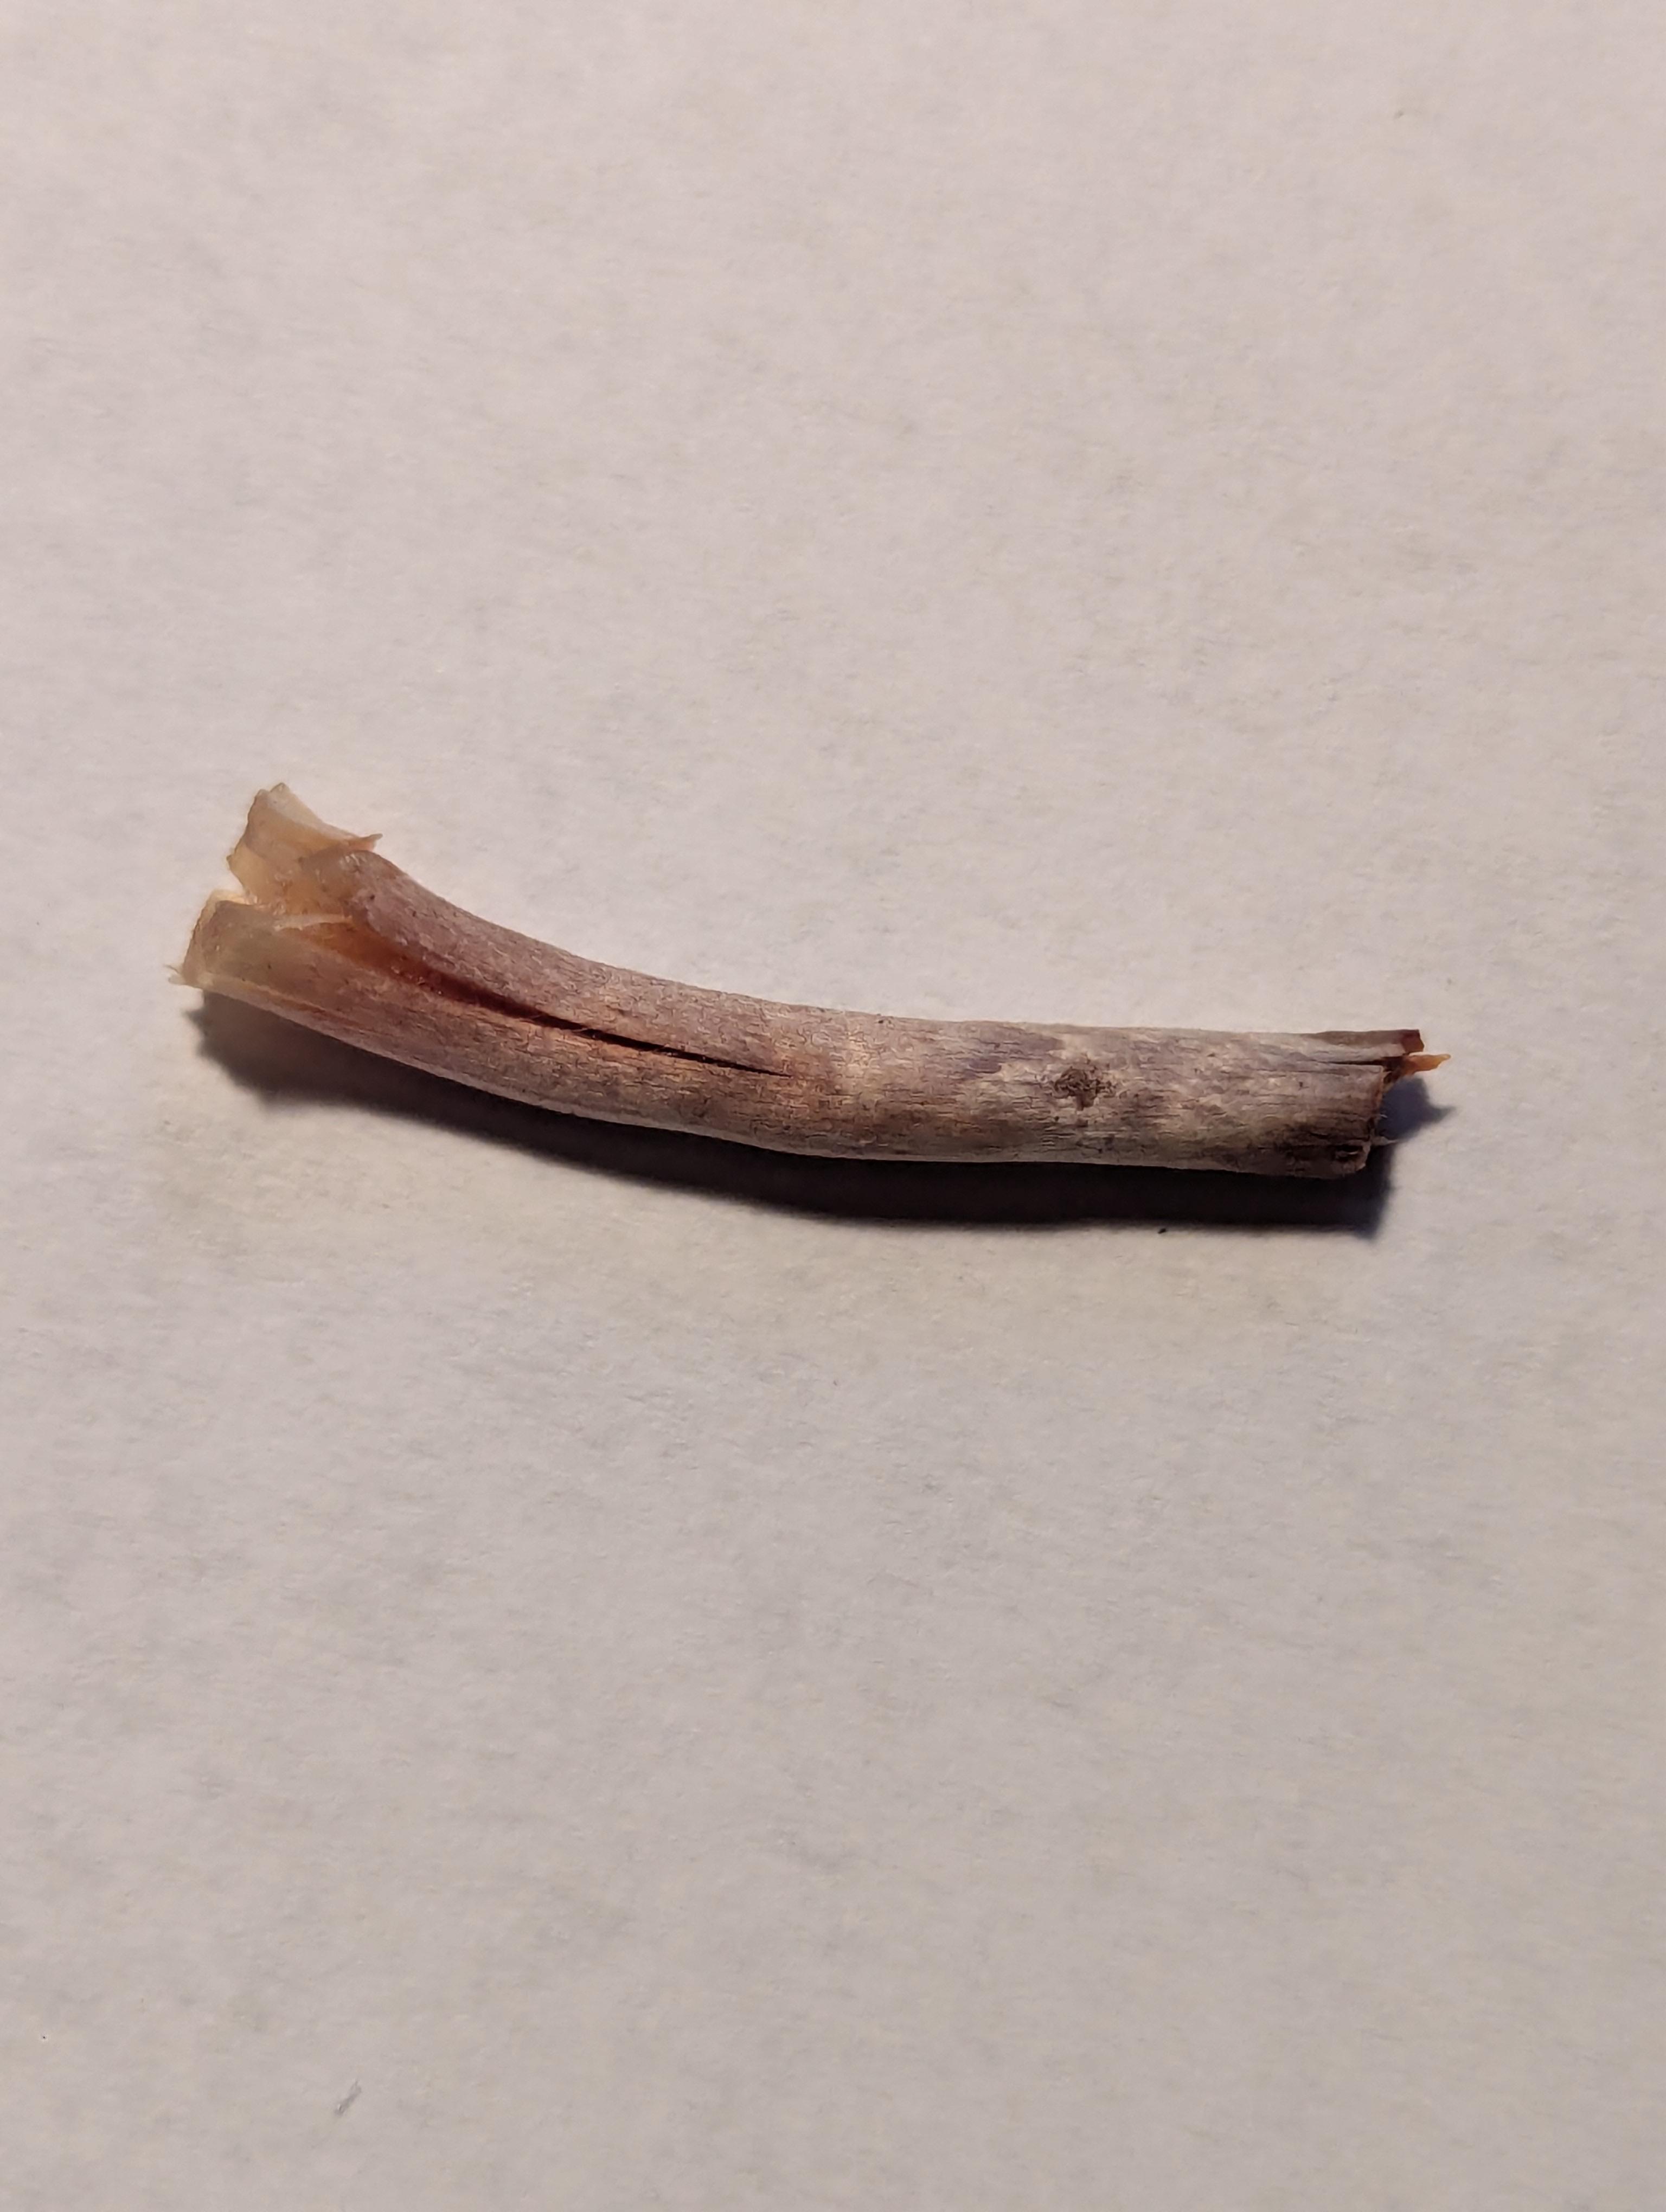
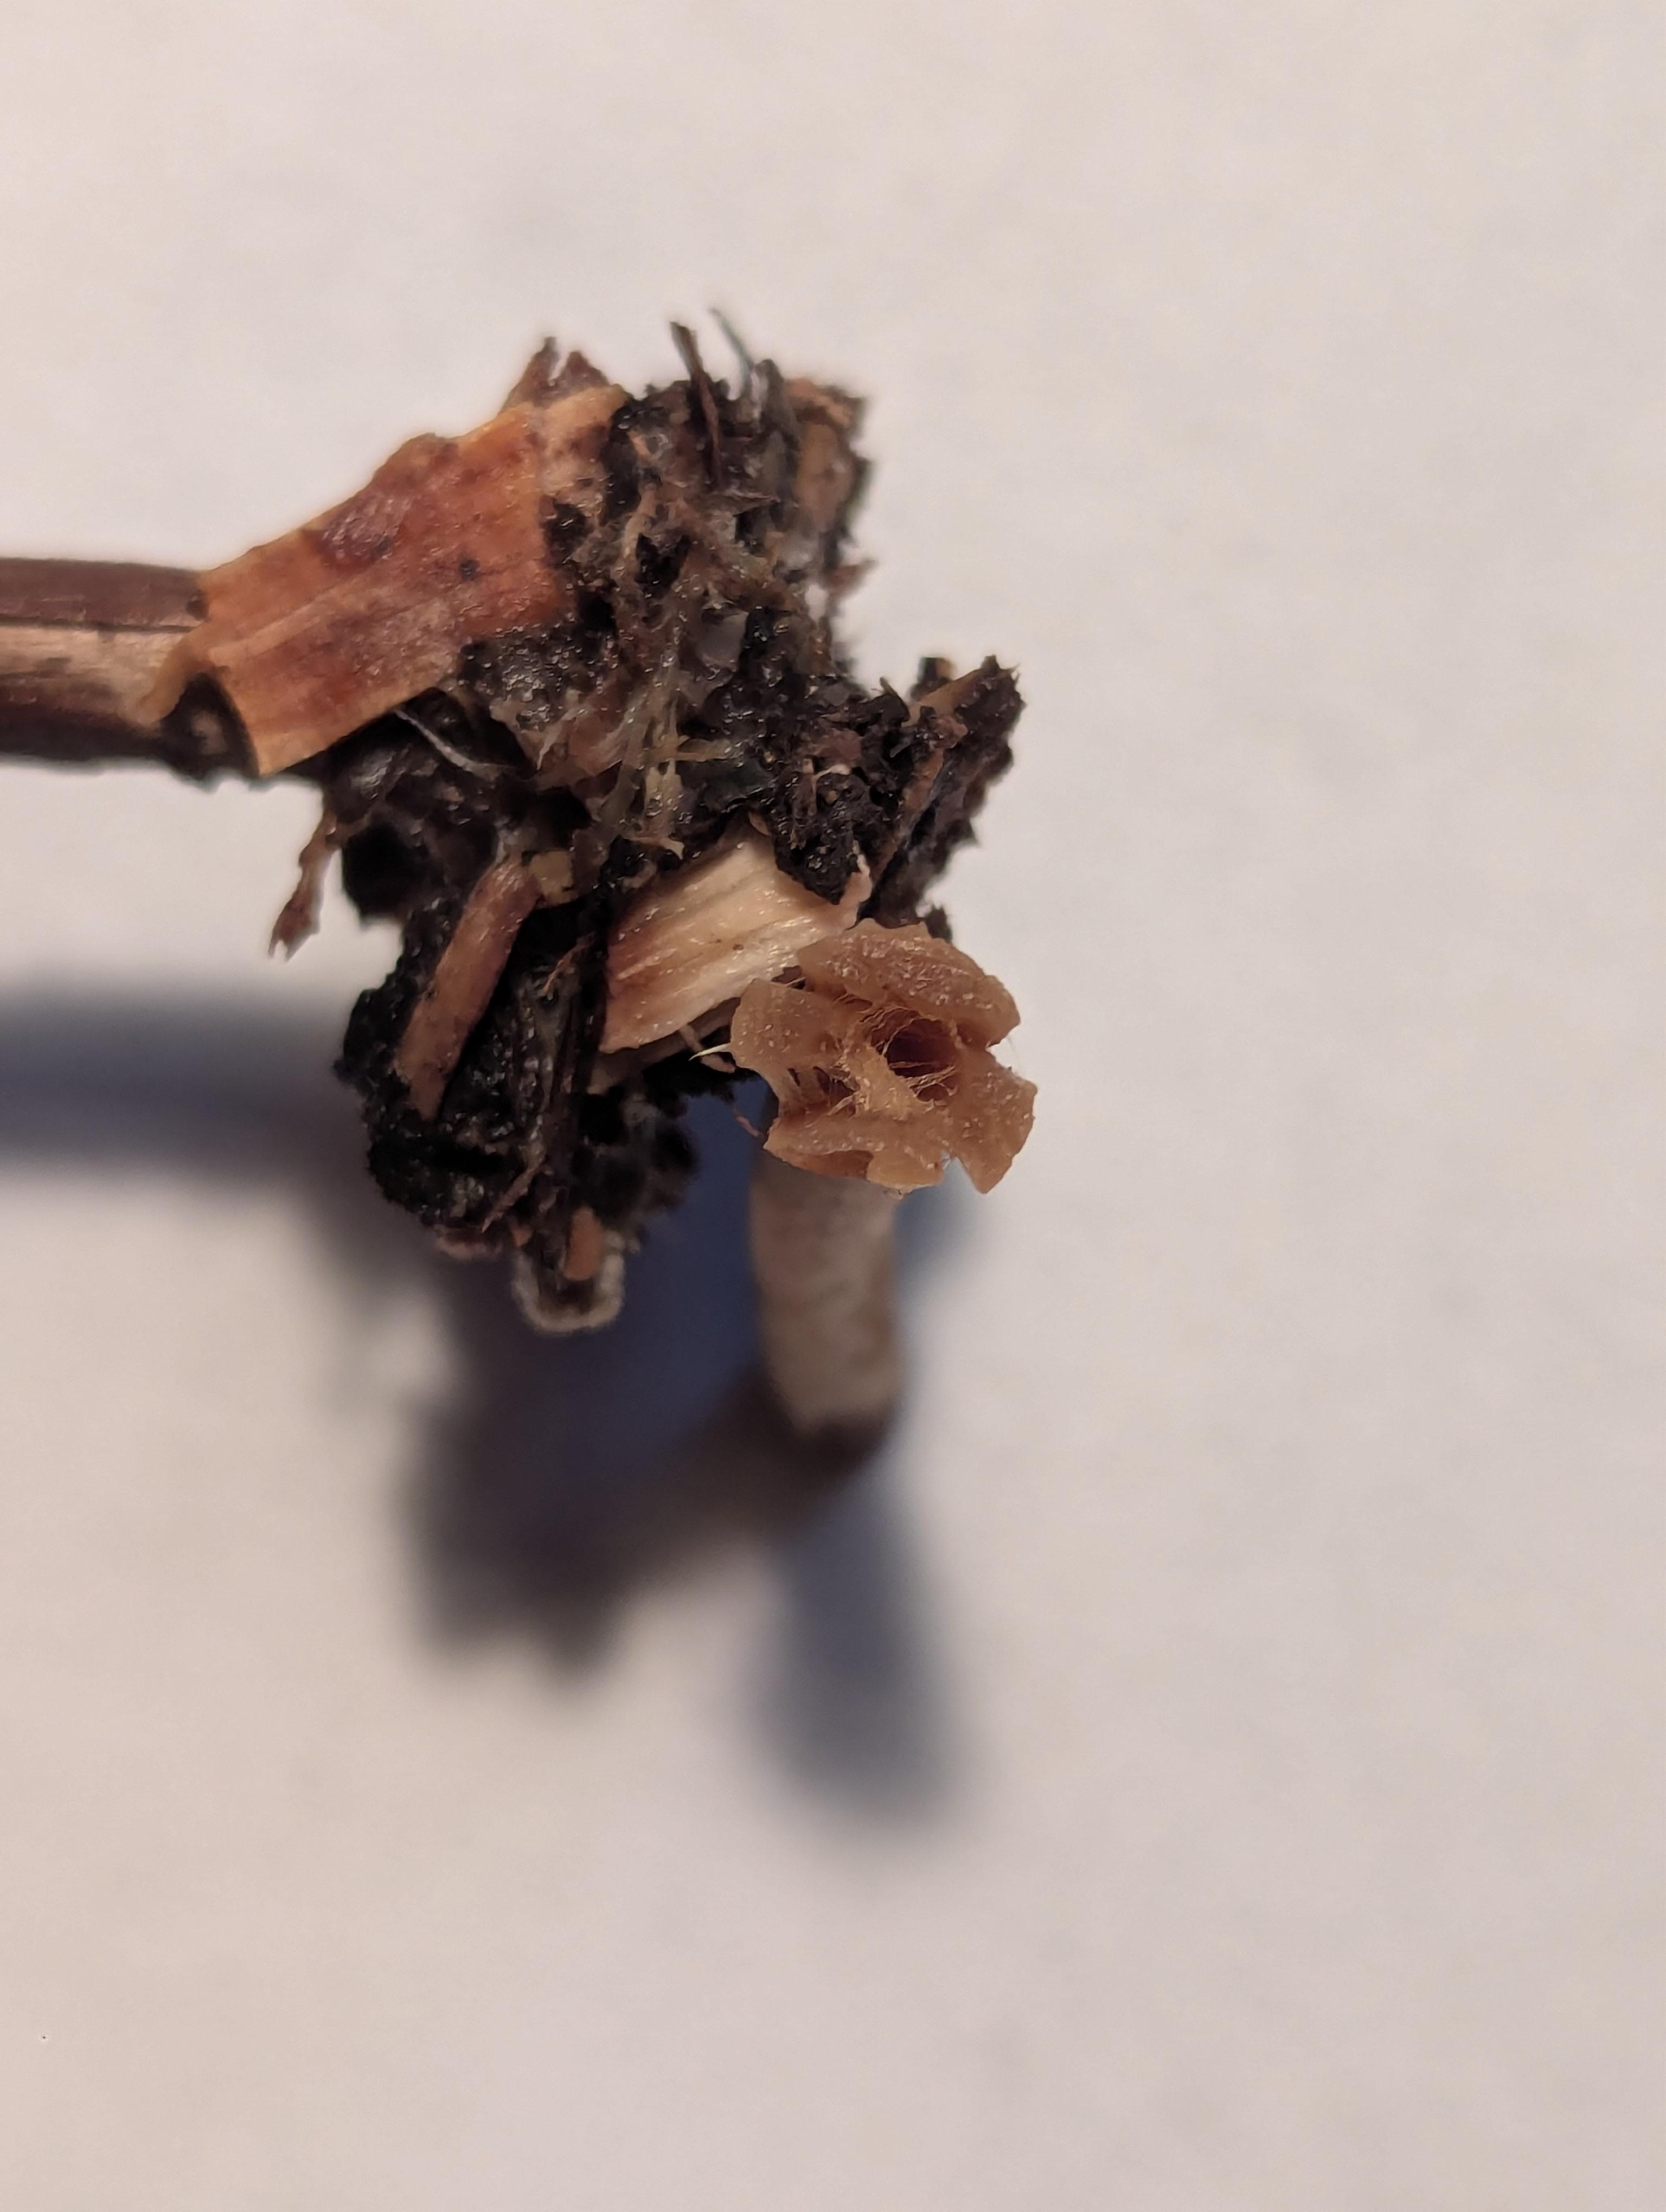
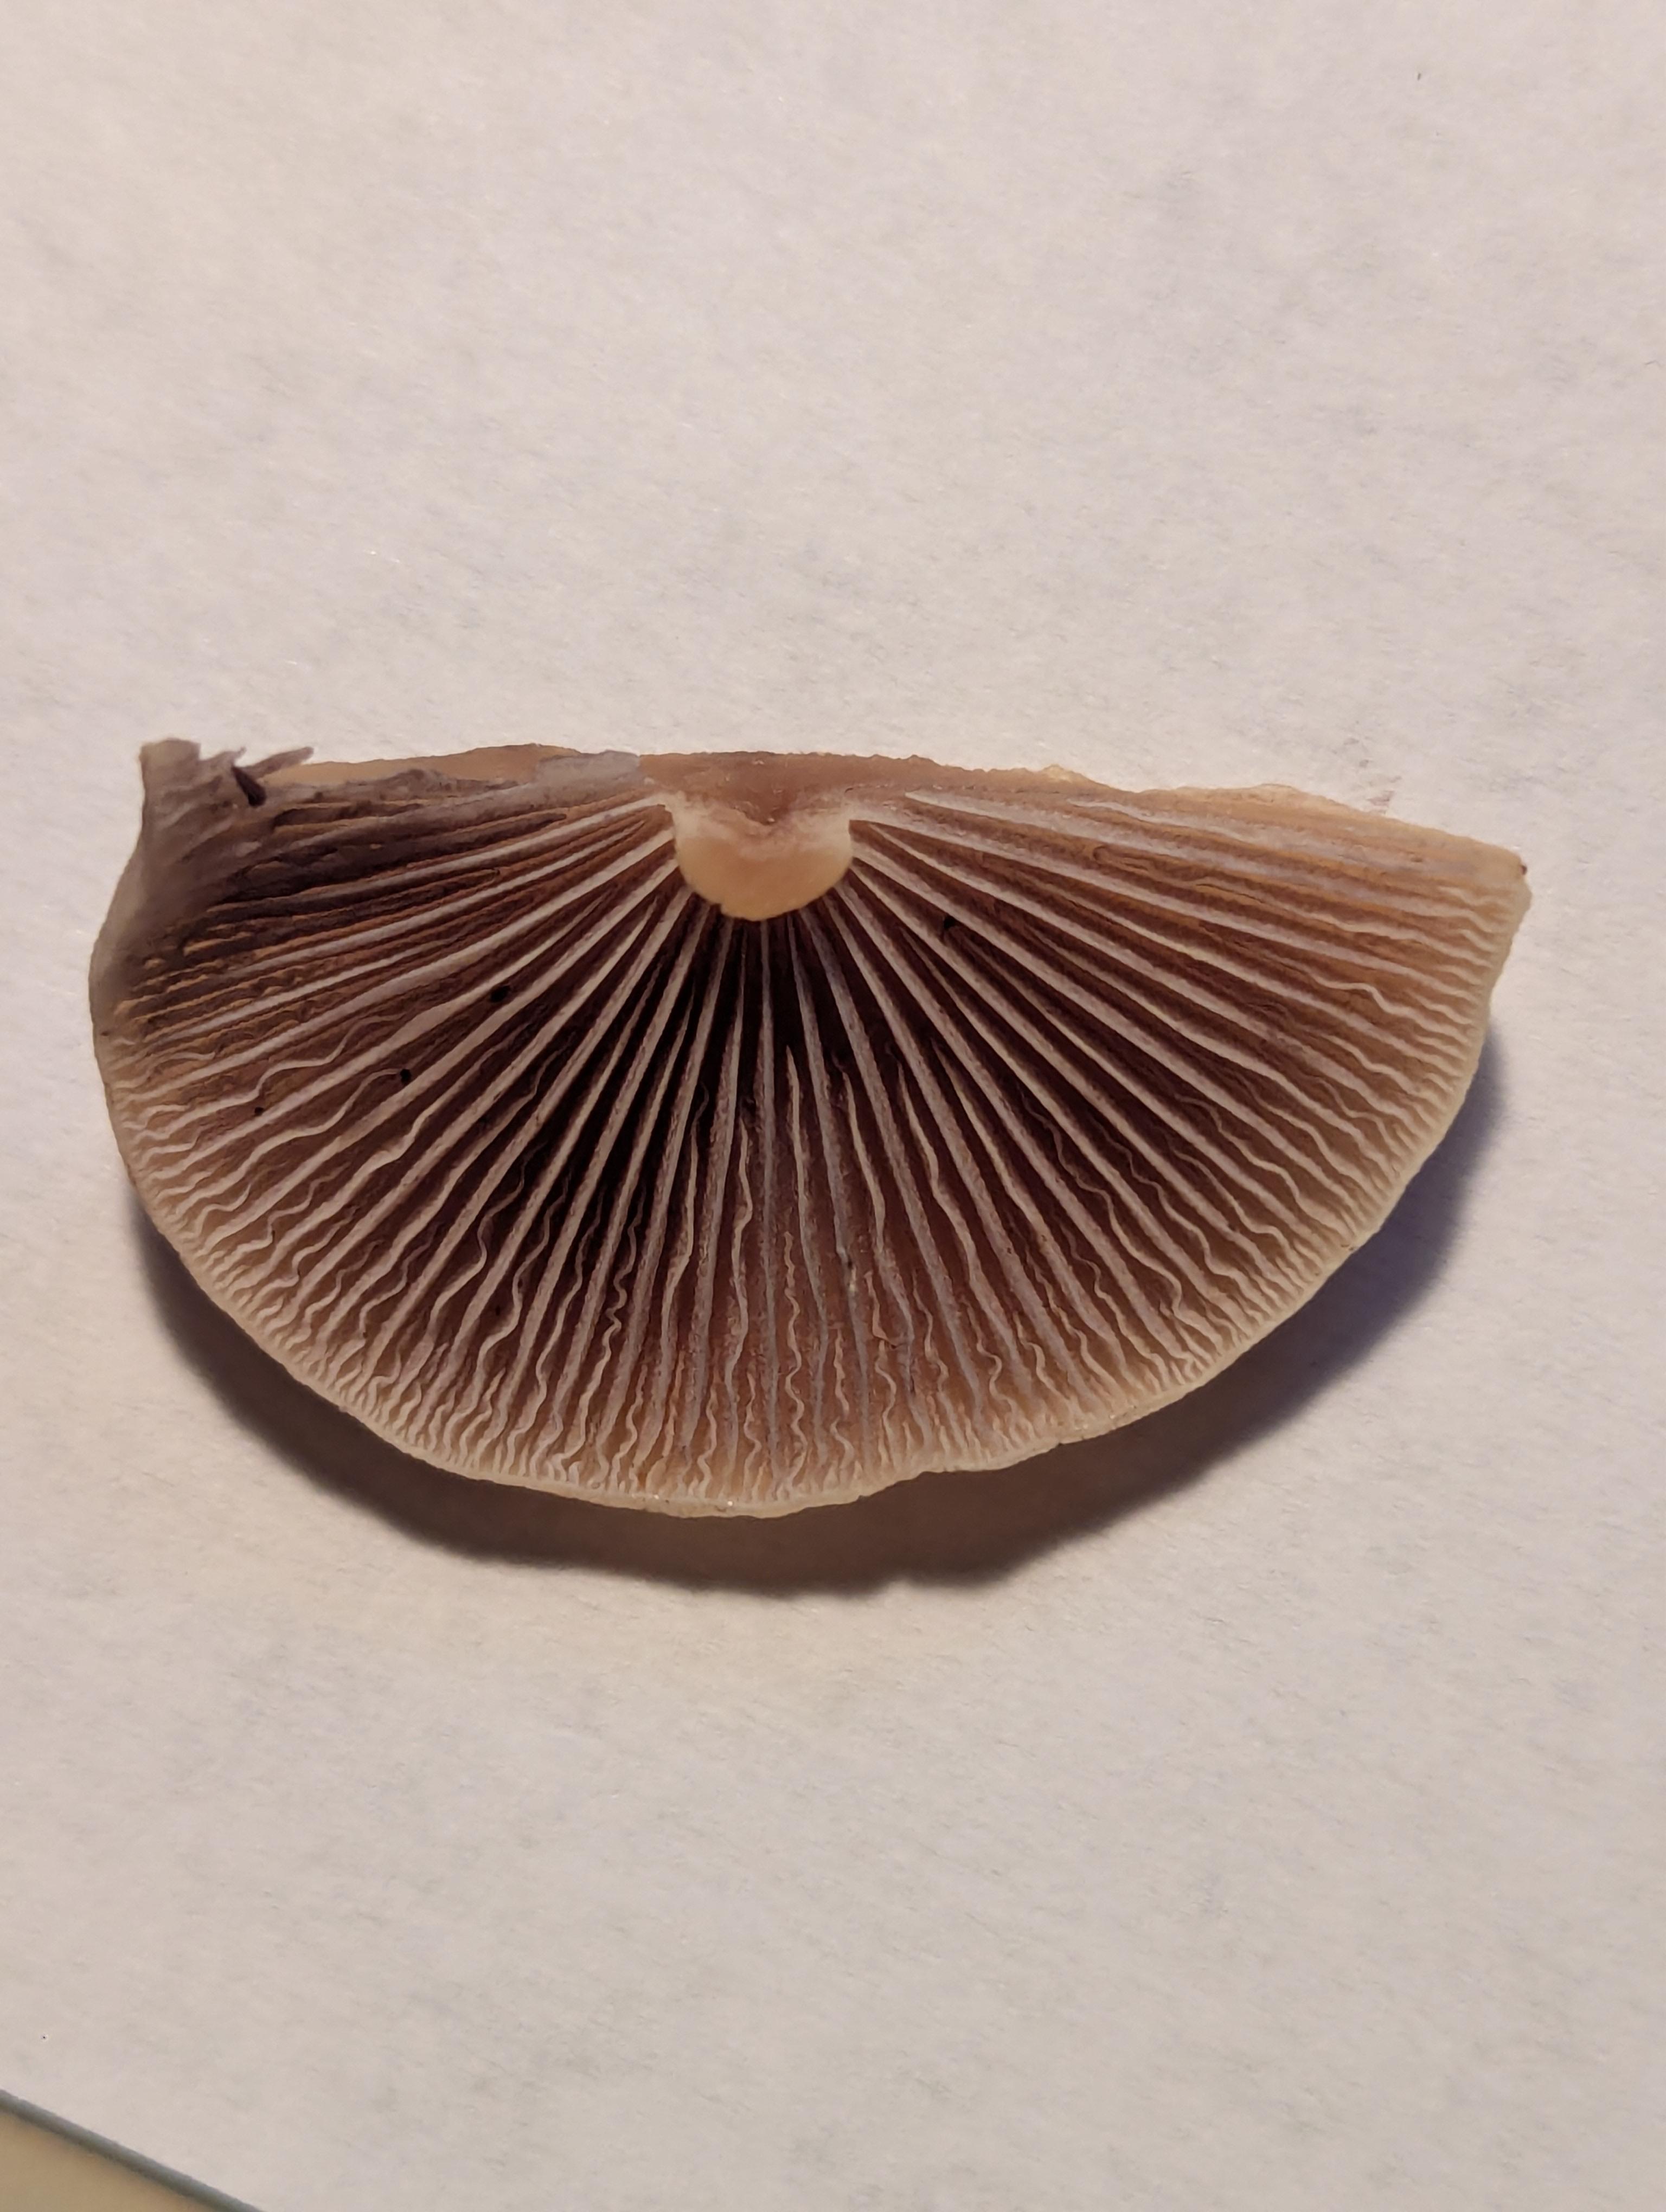
Cross section of the gills — they appear to be adnate, or sub-decurrent:
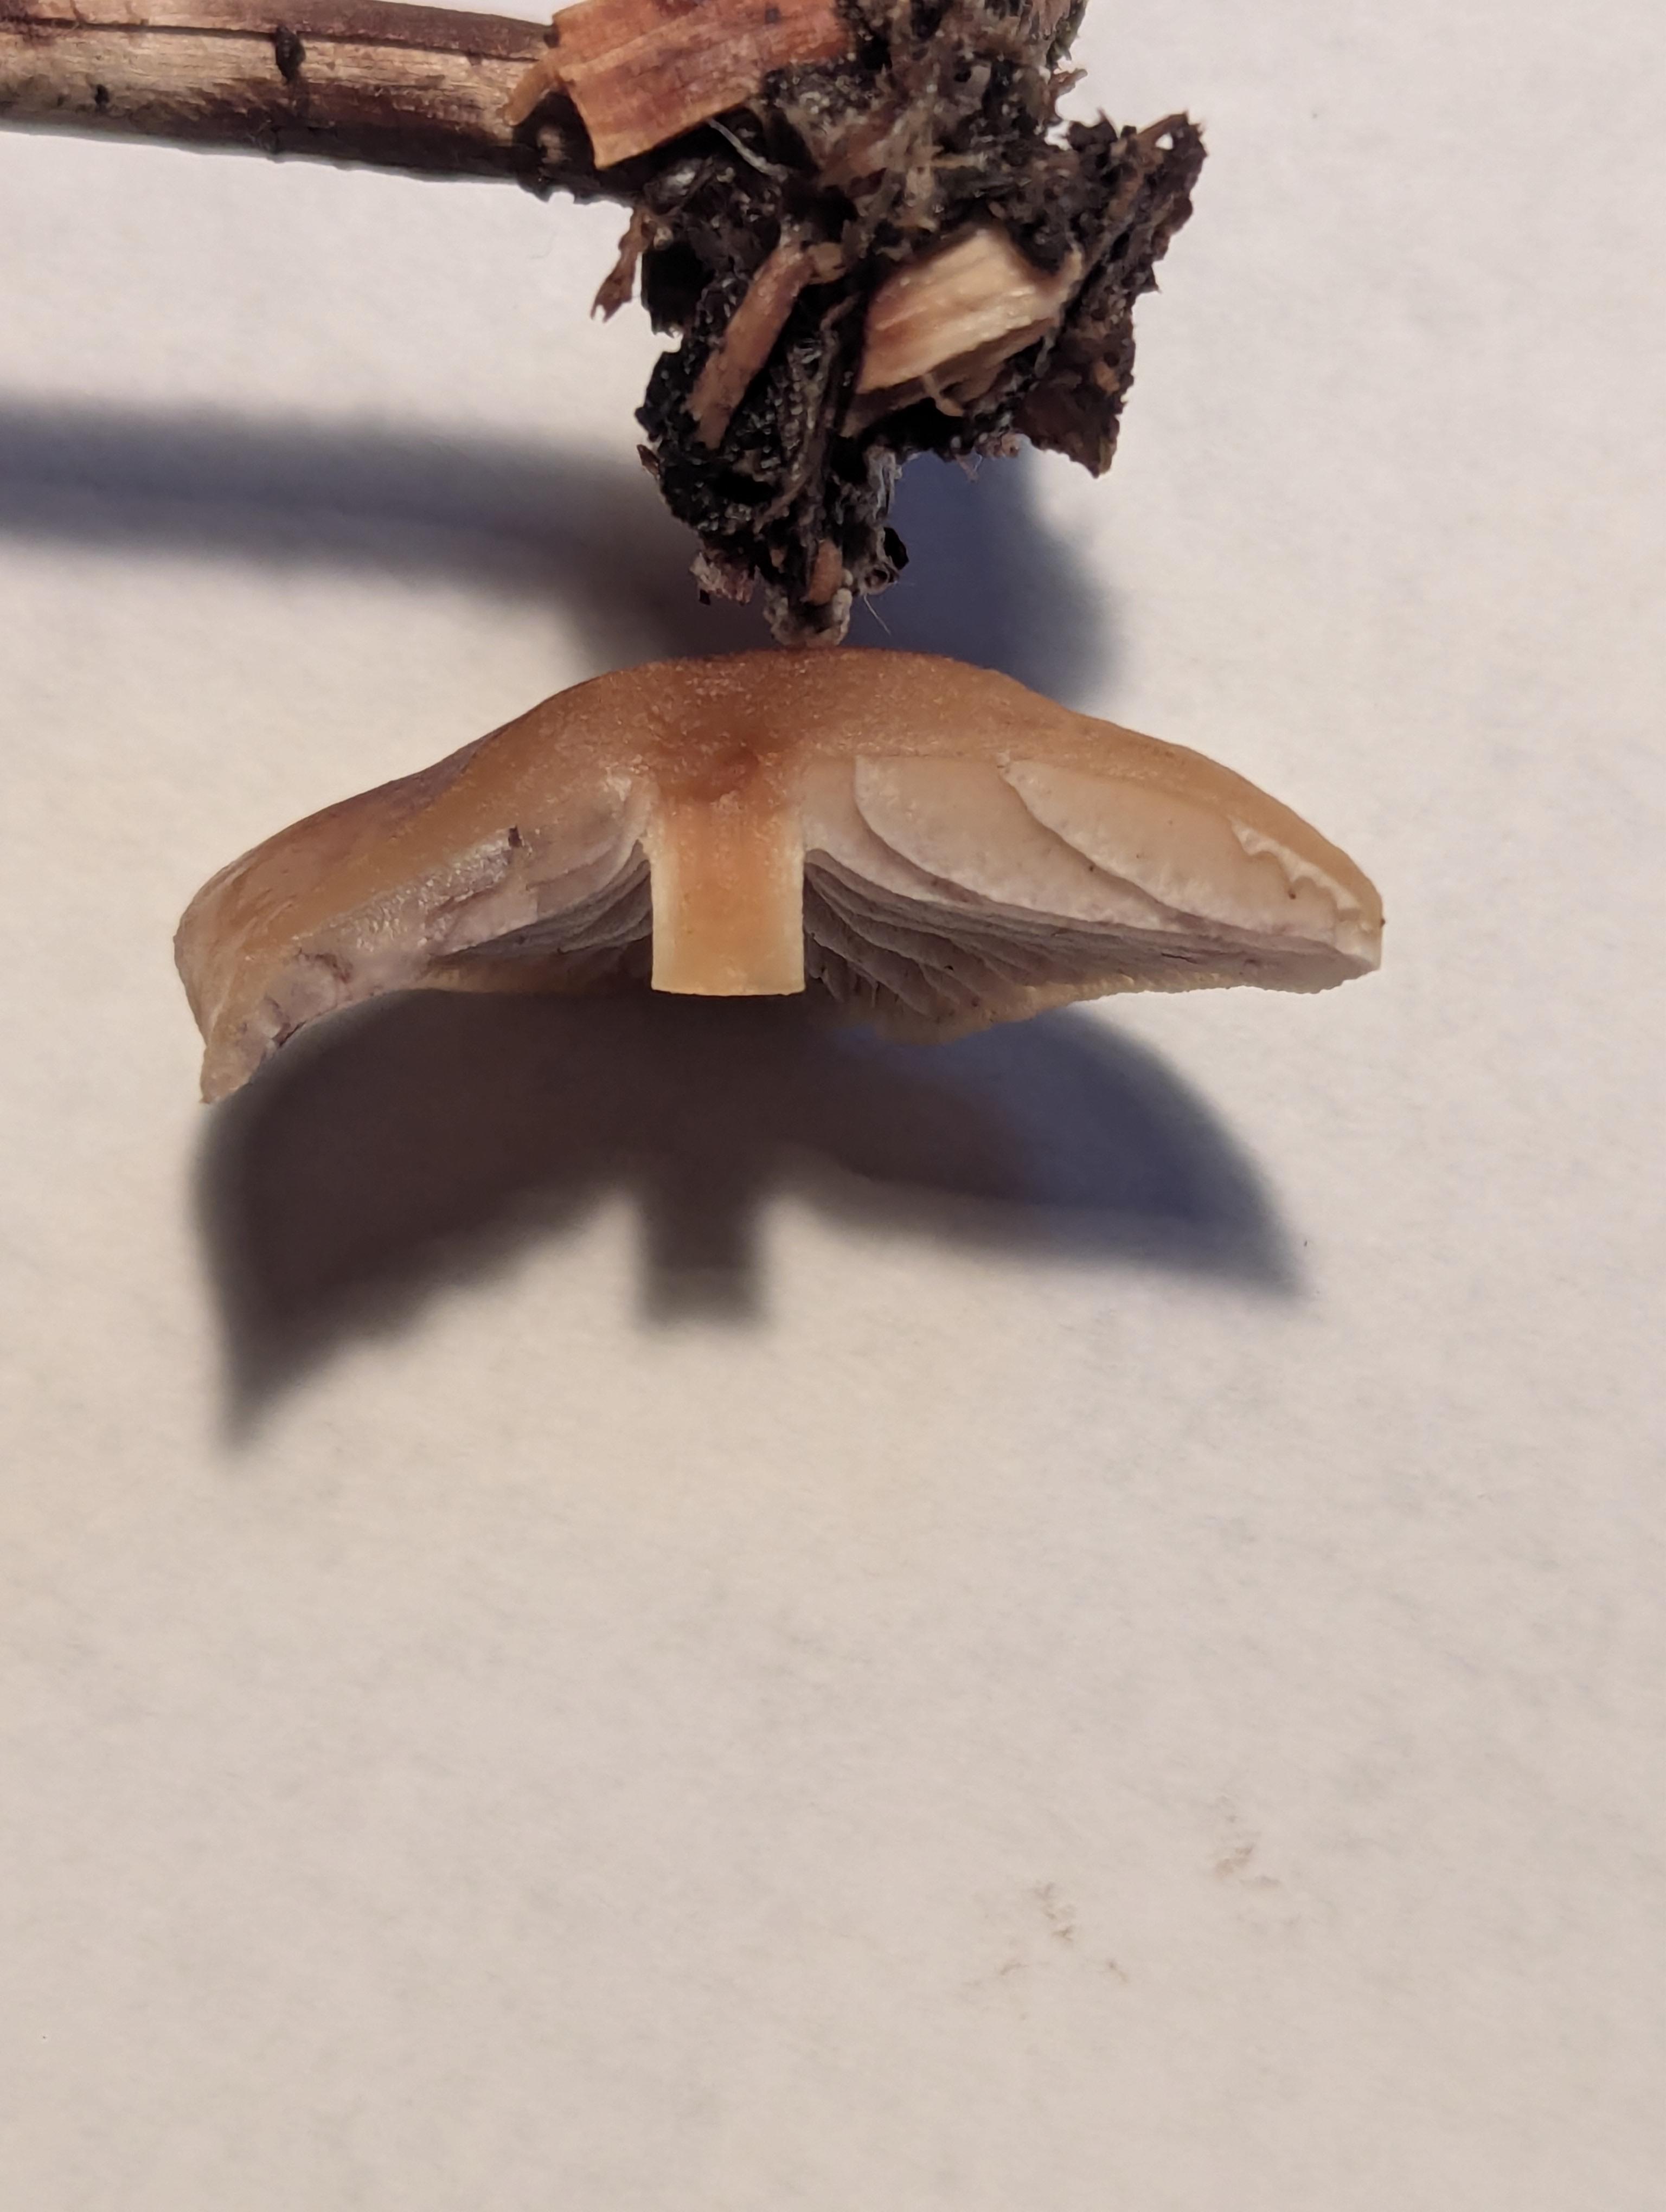
Underside of view of the gills:
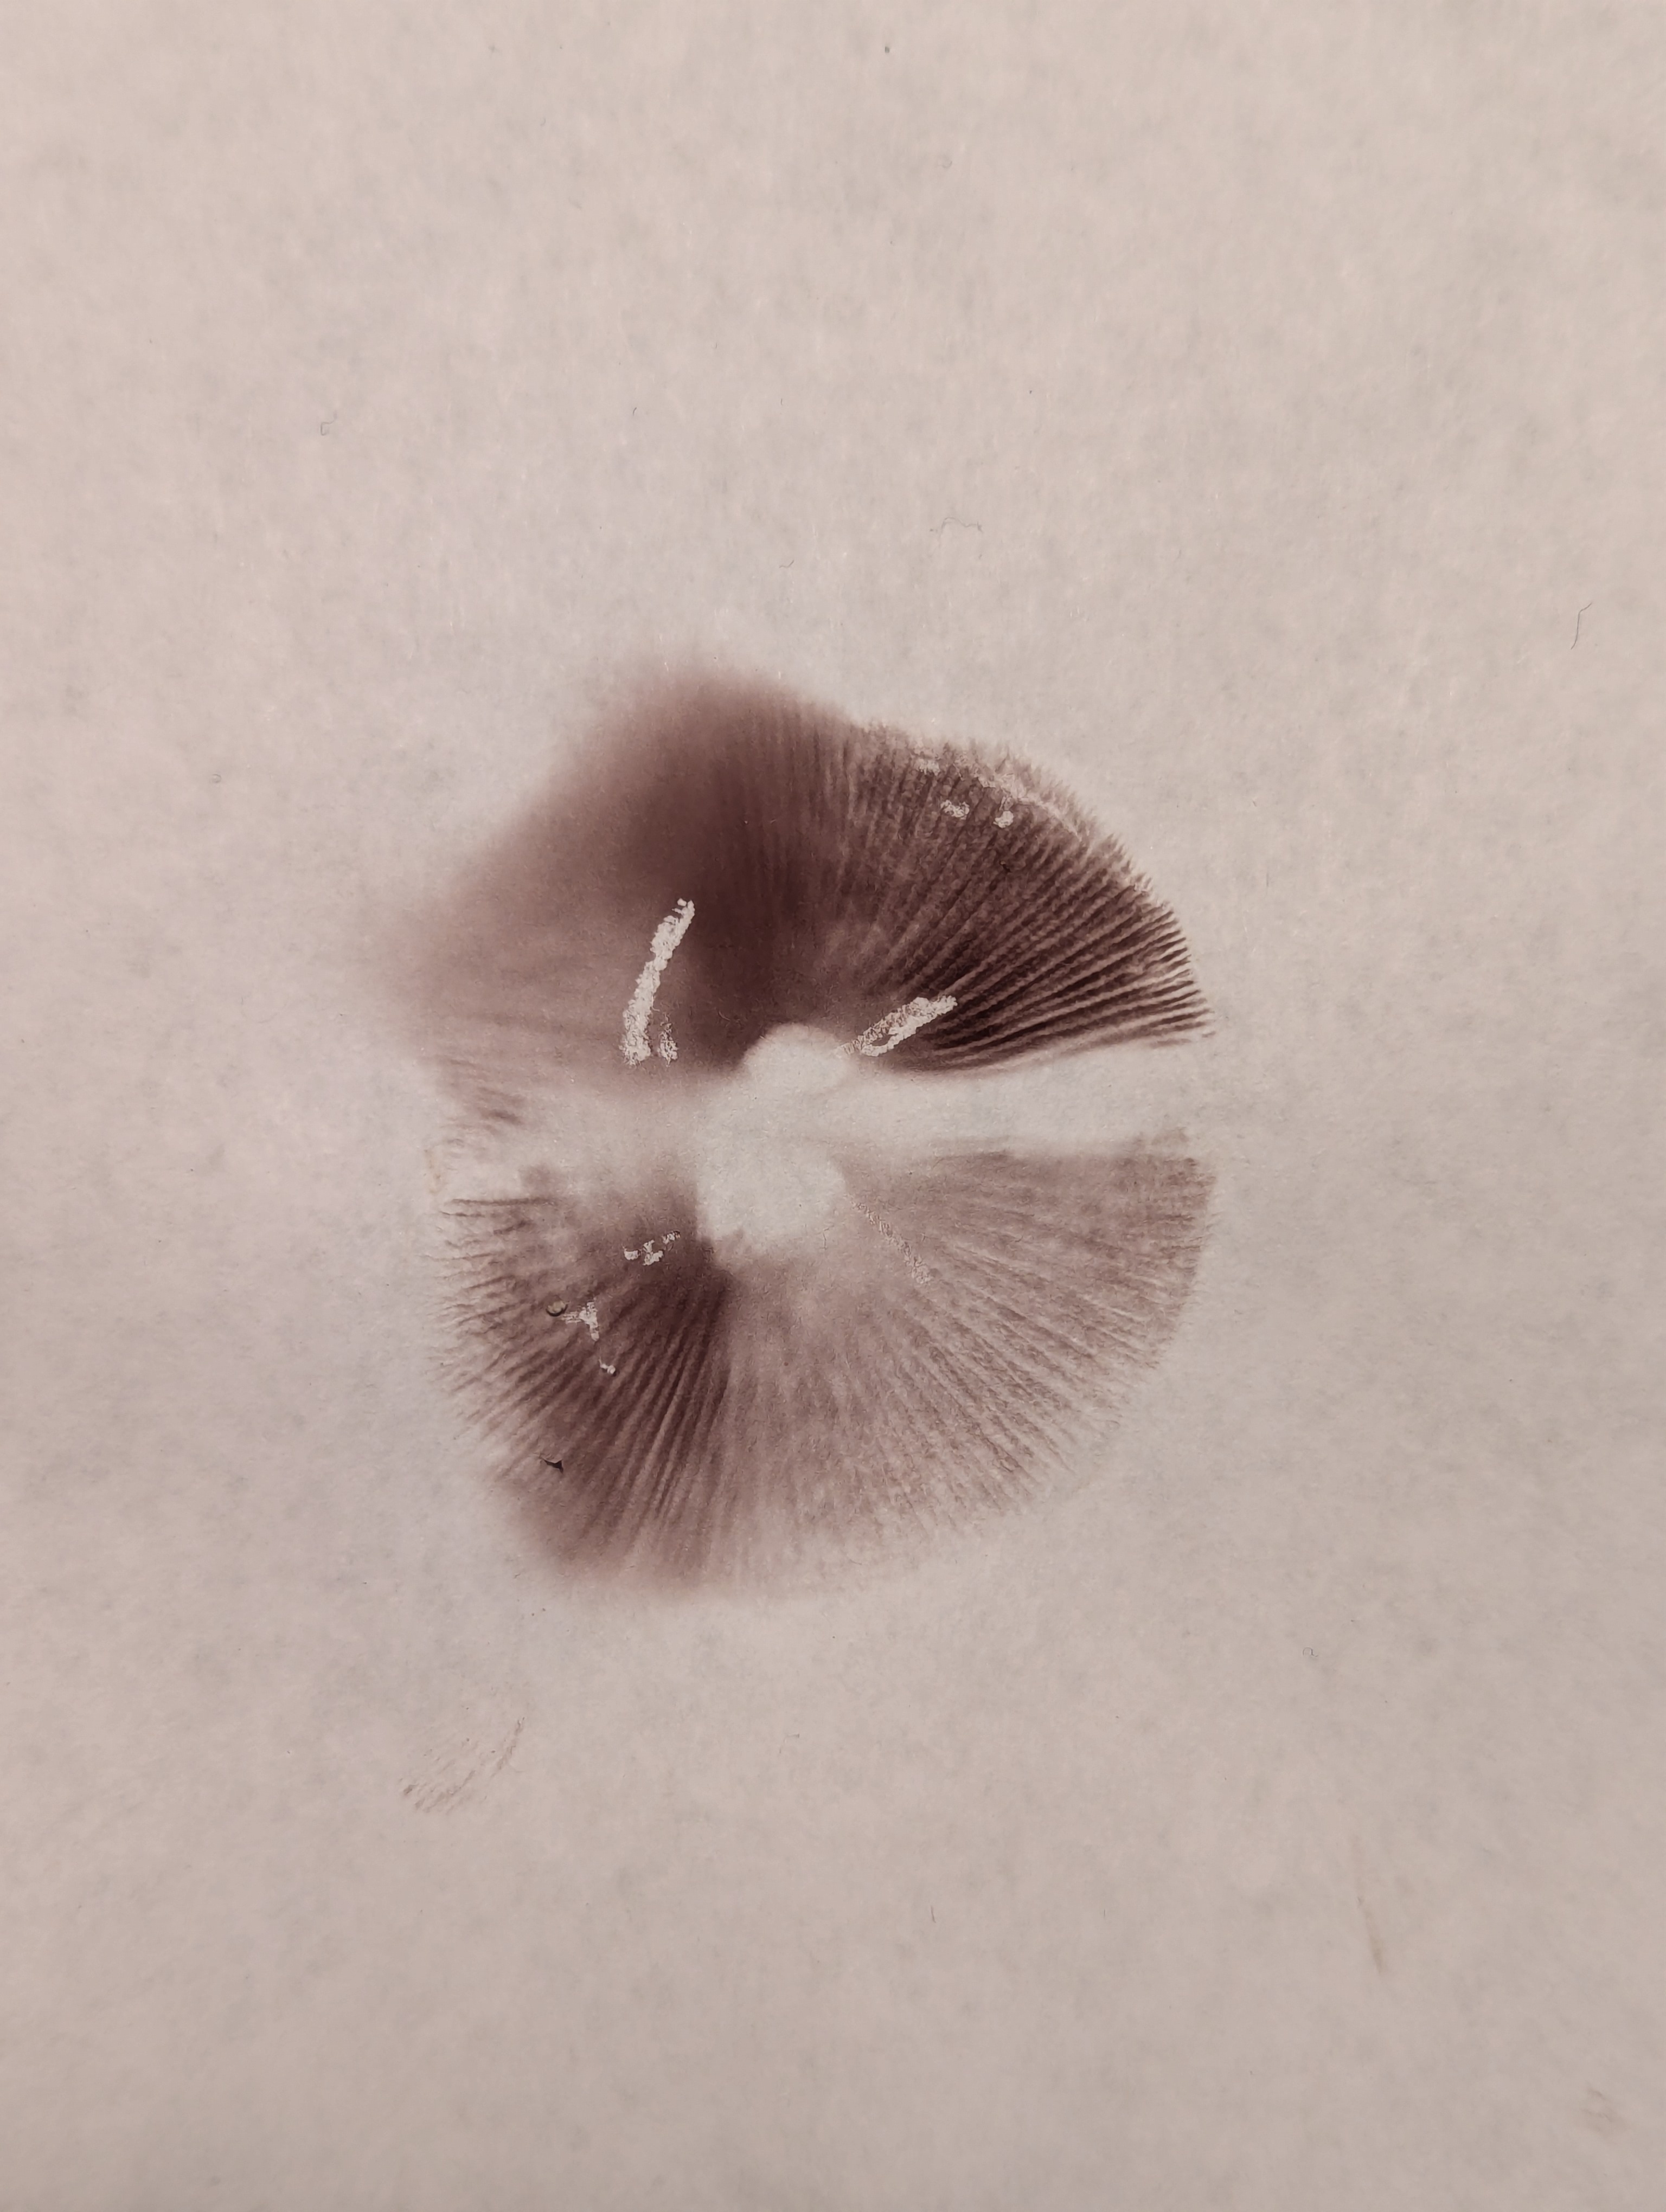
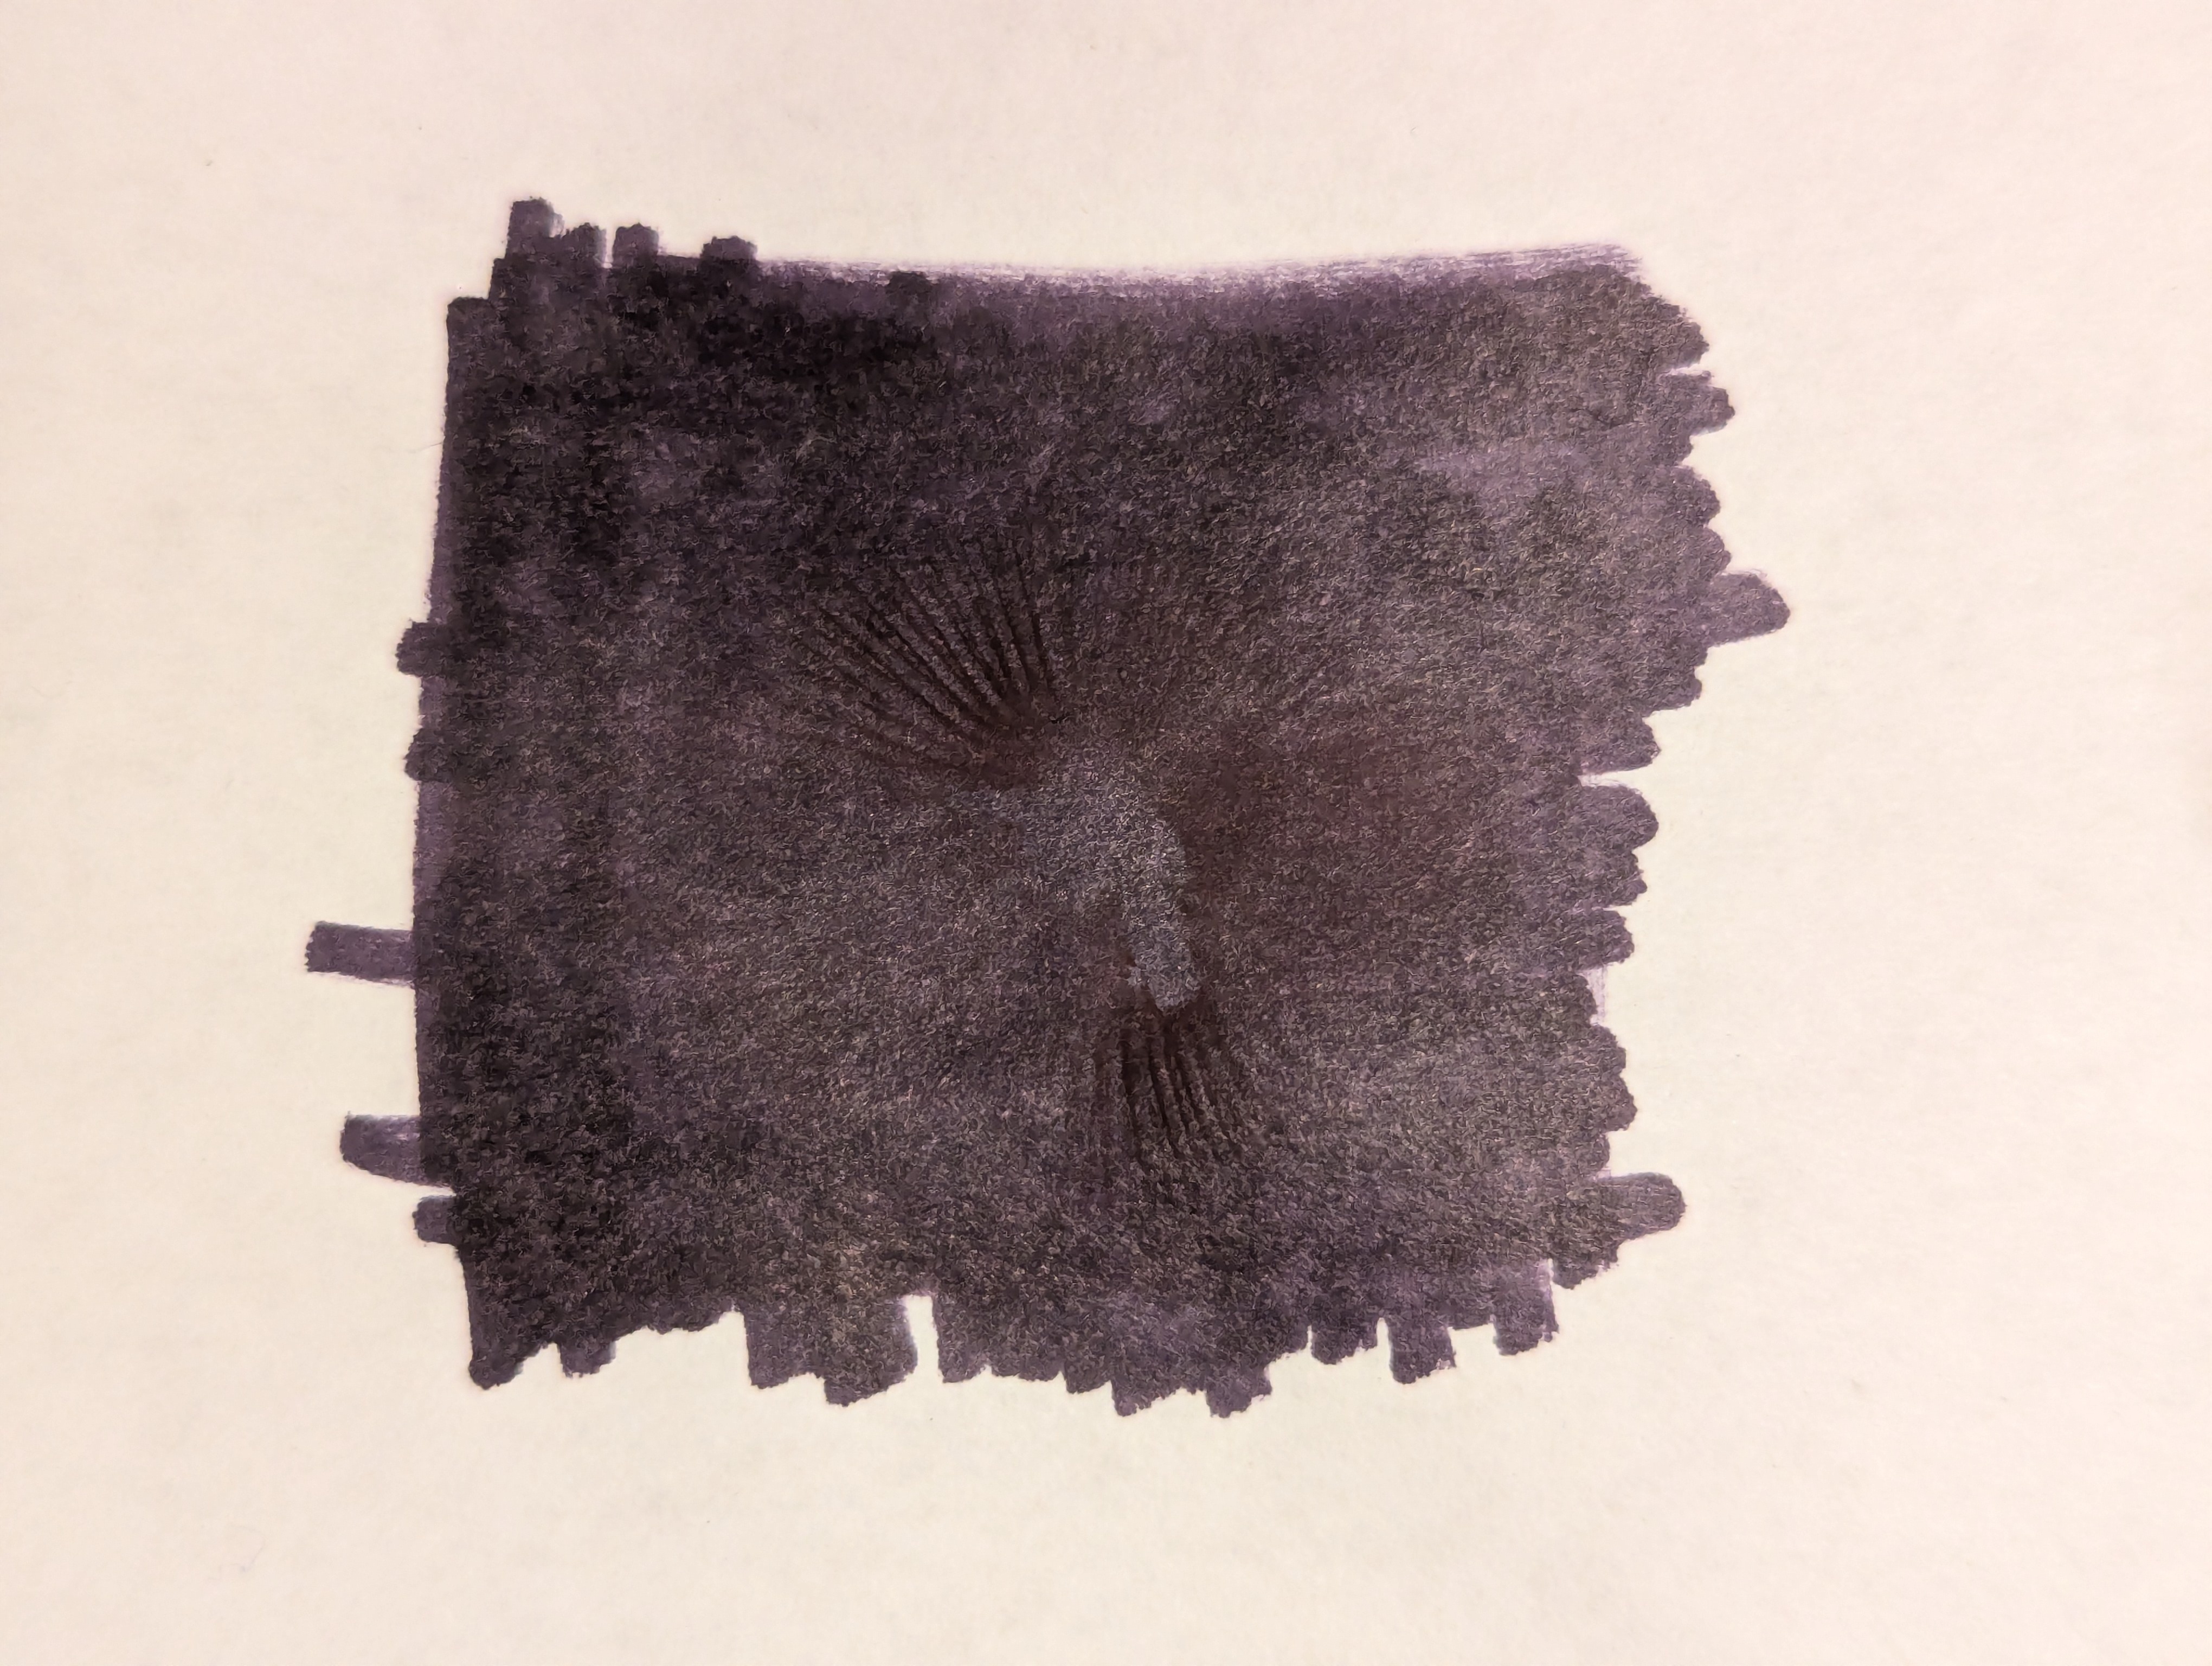
Spore print (first on white background (the split is due to two halves), second on a black background):
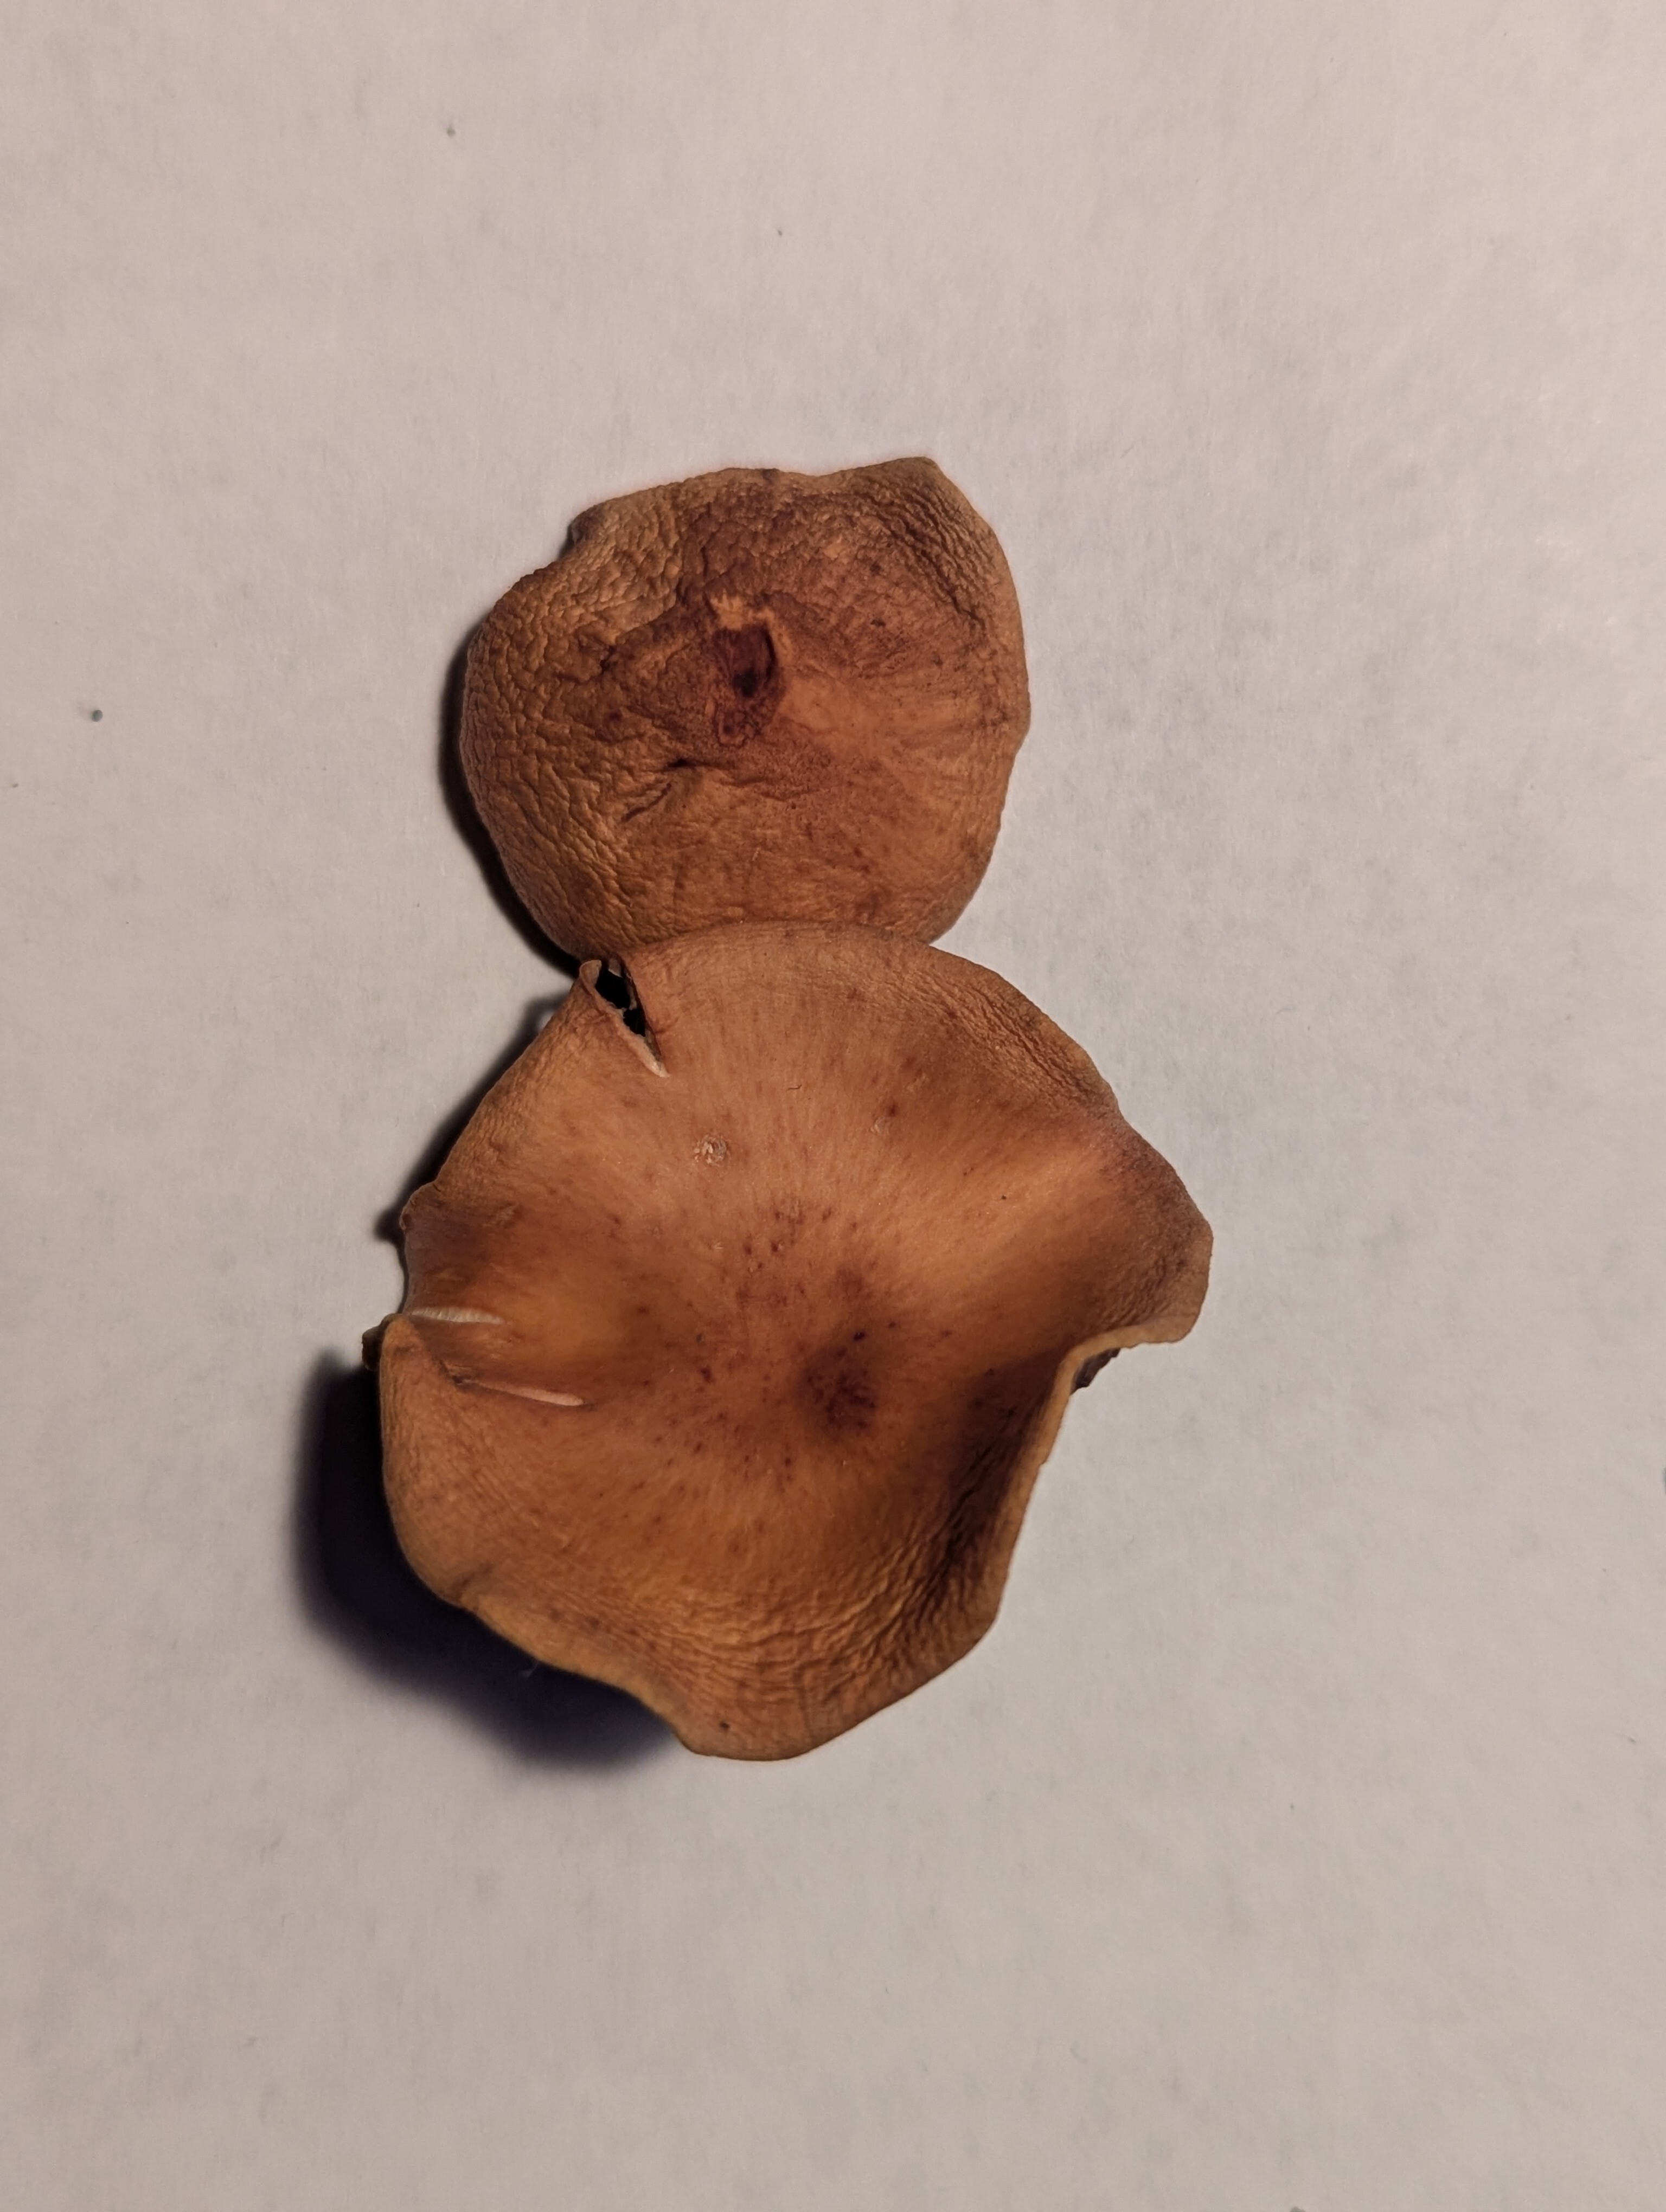
Examples specimens once dried:
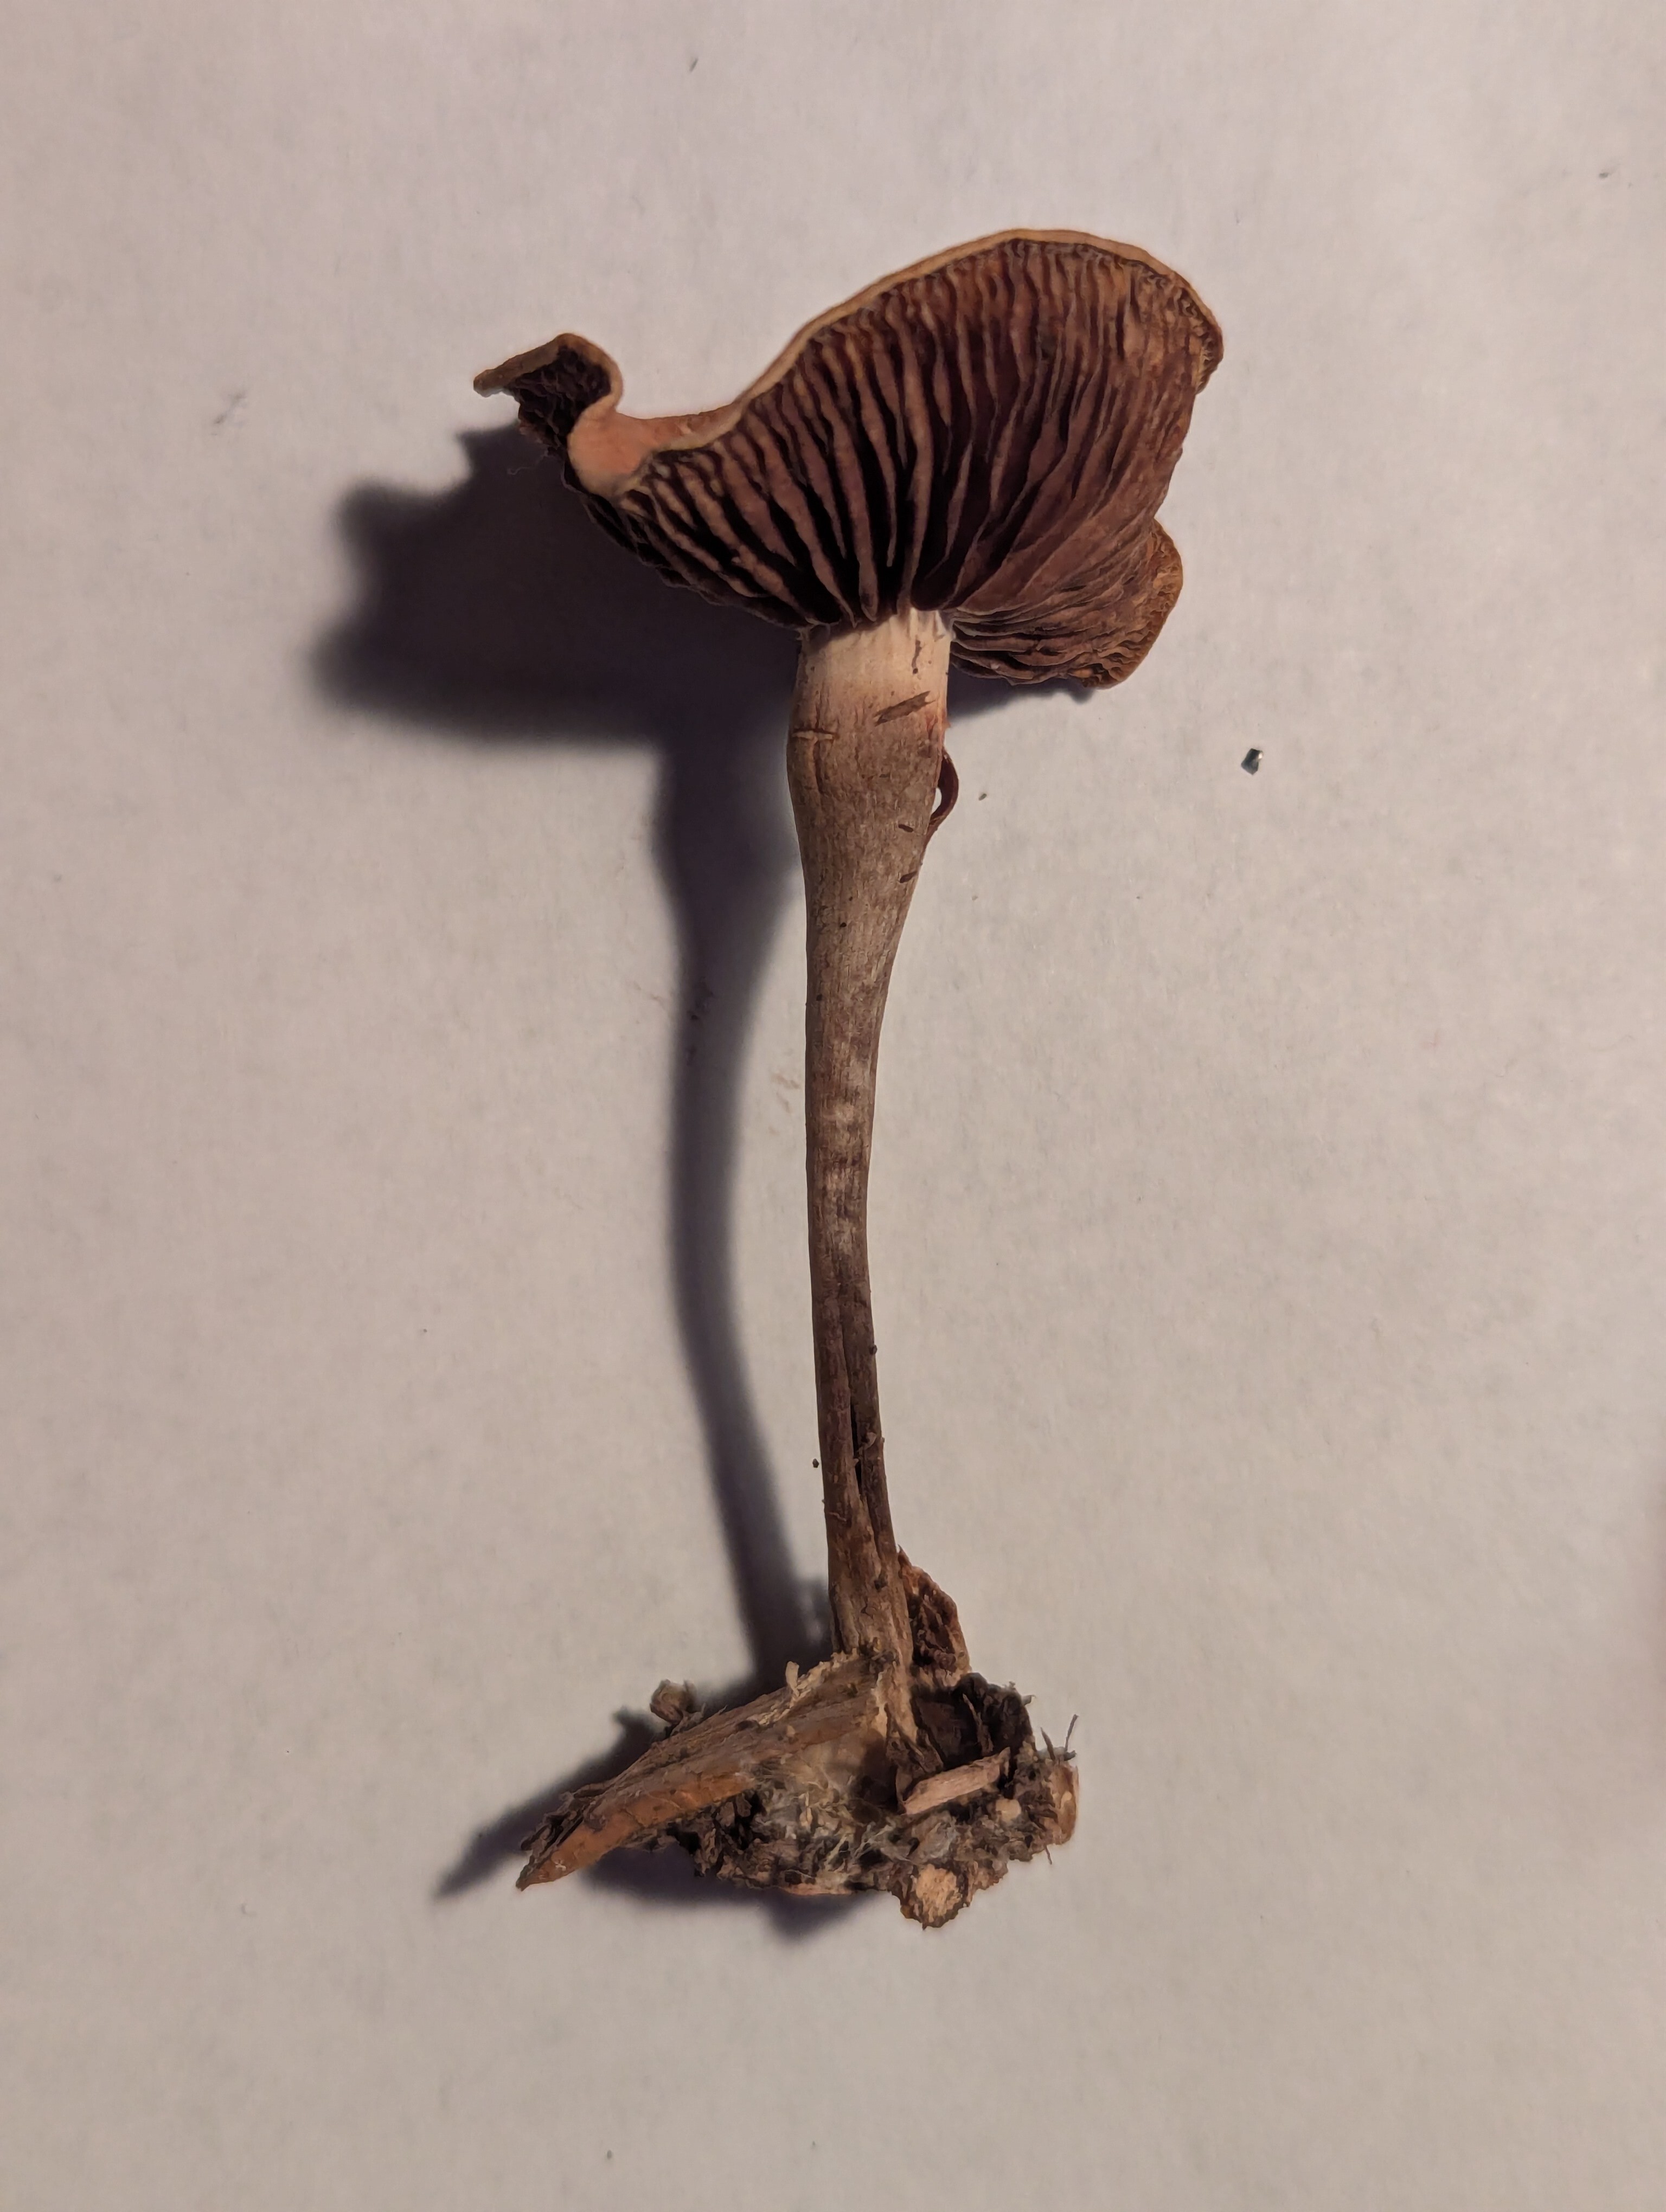
Examples of the colony, and the location/substrate in which it was growing:
Cross-posts:

That’s really great! I also have a (pretty good) microscope at home, with one of its’ purposes being exactly that. But I believe 99% of people out here, myself included, probably couldn’t discern the spores microscopically anyway, so that being missing won’t matter much or at all.
Maybe you could optimise the spore print picture.
I personally like to take the prints on aluminium foil, because
For identification, when I need someone’s else opinion, I like to take them thrice.
1x aluminium foil (to see the color)
1x black paper (if whiteish)
1x white paper (if darkish)
1x glass (microscopy slide, mirror, etc.)
I sometimes find the colors on pictures a bit misleading, because most people take them with their phone, which like to manipulate the picture (weird color corrections, sharpening, AI, etc.) and are too dark.
Optimally, take them somewhere under a light with normed values (e.g. some LEDs or fluorescent lights give off “office light” or “daylight”), where the white balance can easily be adjusted.
Or, you can add some objects with known colours for reference, e.g. something like those take-things moviemakers use, certain LEGO bricks, and so on.
But nothing I said is meant as criticism. Not at all. Your post was great! Take it as inspiration, maybe it will help someone :)
Good idea about lighting/white balance. I will try to improve the color accuracy in future images. I could potentially just capture the image RAW for future adjustments to color.
I’ve done this before, and it worked well, but I was unable to locate any when I was trying to ID this. Perhaps I should just purchase a bulk amount of cheap glass slides for this purpose to store prints on?
I tried accomplish this end by simply coloring a spot on the paper black for contrast (as seen in the image in the post). It certainly isn’t perfect, but I think it served its purpose. That being said, purchasing some black paper for this purpose is likely a much better idea.
Neat Idea to use aluminum foil! I’ll have to try aluminum foil next time. I also hadn’t considered physically storing the prints for future reference — it likely would make sense to do so.
I figured that it’d be worth it to include it, at least for documentation purposes, if not for the potentially unlikely case that it does aid identification in some meaningful way.